The Webready Translator Languages section allows you to enable multi-language on the website, add your languages and their flags, as well as to allow the visitor language to be detected.
Enabling and adjusting Languages
Navigate to Language Settings.
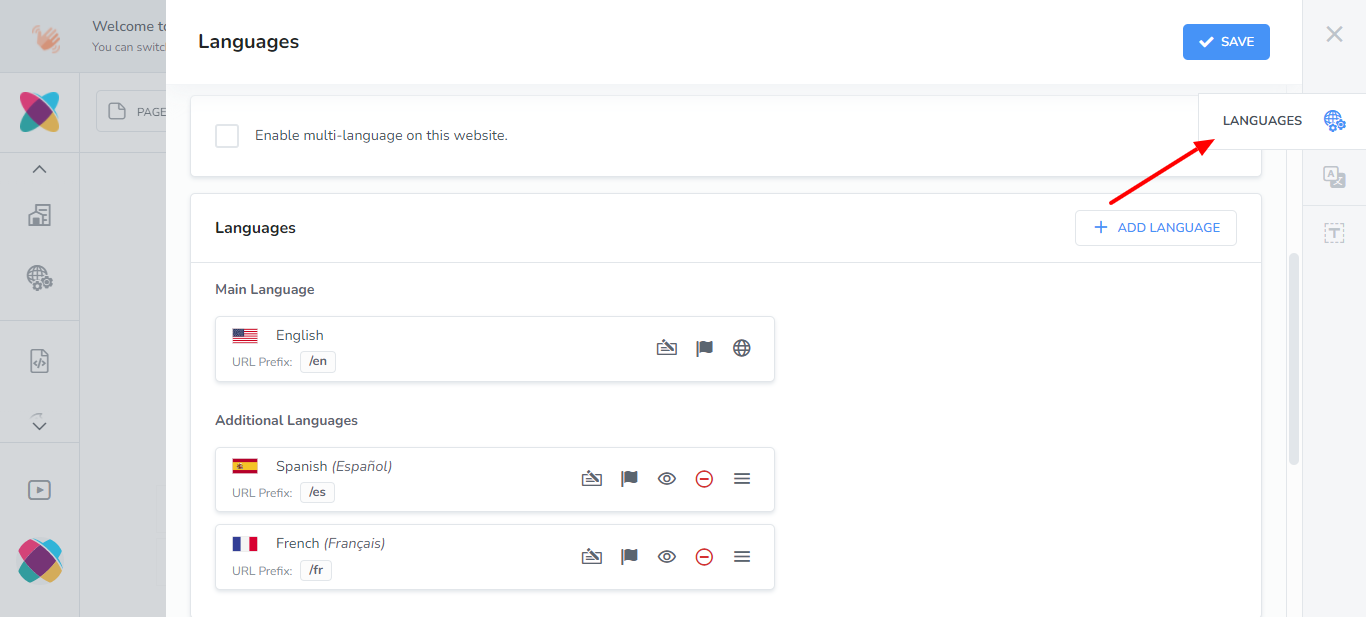
To access the Webready Translator feature, open the Webready Editor, scroll through the left pane and click on the Language Settings icon:
Click on the Languages tab on the left.
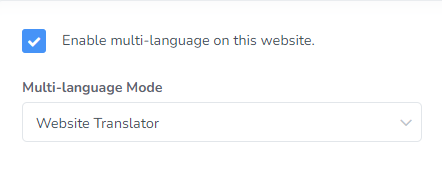
Click "Enable multi-language on this website".

Website Translator should be selected here.
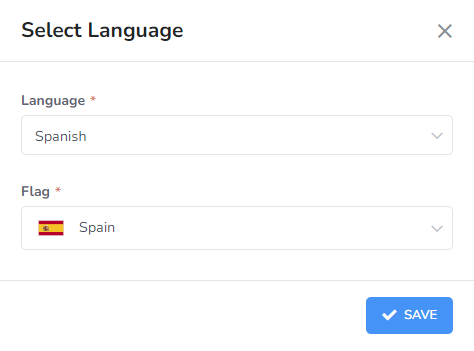
Click Add Language
You can add as many languages as are available to translate.
Choose the language and one of the available flag options for that language.
You will see a list of your languages displayed, with action options available:
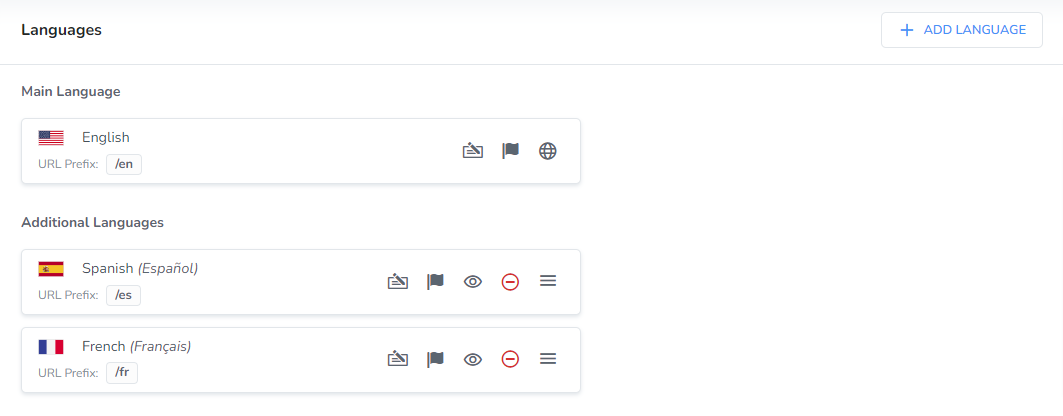
Here are a list of the options available for the languages:
> Edit Language Information:
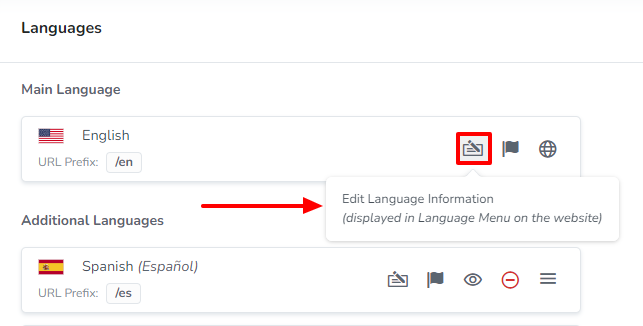
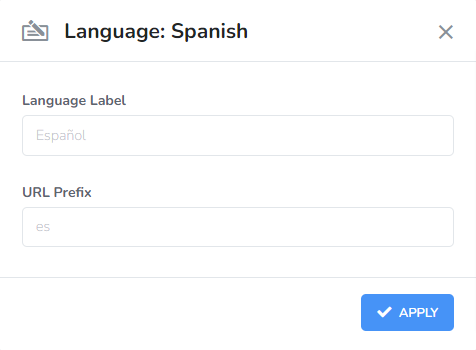
Here, you will be able to change the language label and URL Prefix. The URL prefix will be displayed in the browser to differentiate between the versions of the website.
> Change Flag:
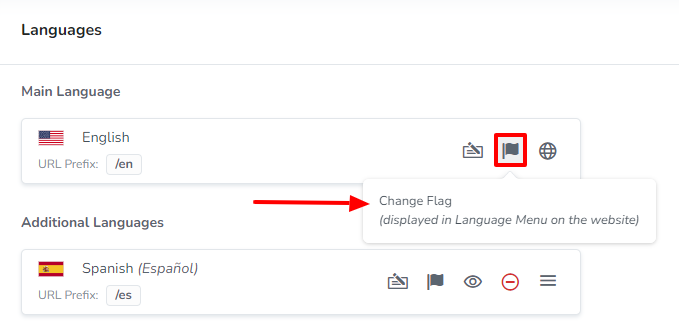
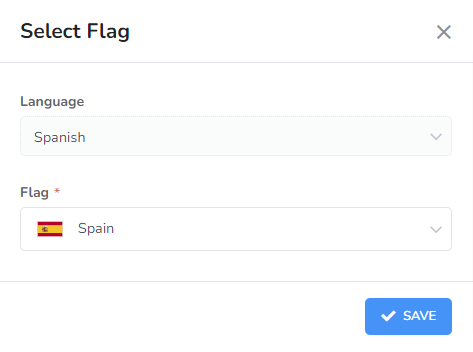
You will be able to change the default flag for the language to a different available flag by choosing one from the dropdown box.
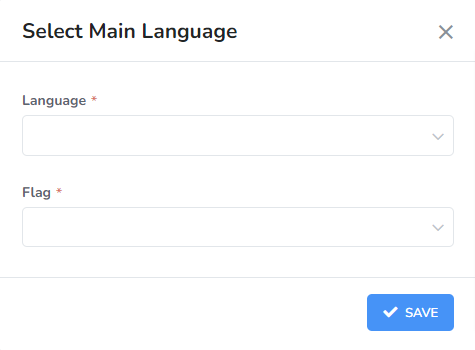
> Change Main Language:
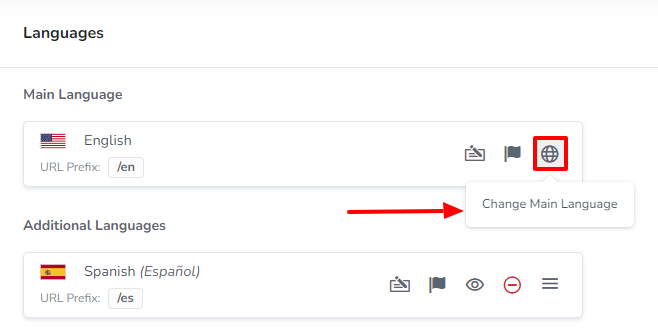
If you need to switch your main language, then this can easily by done here.
> Disable Language:
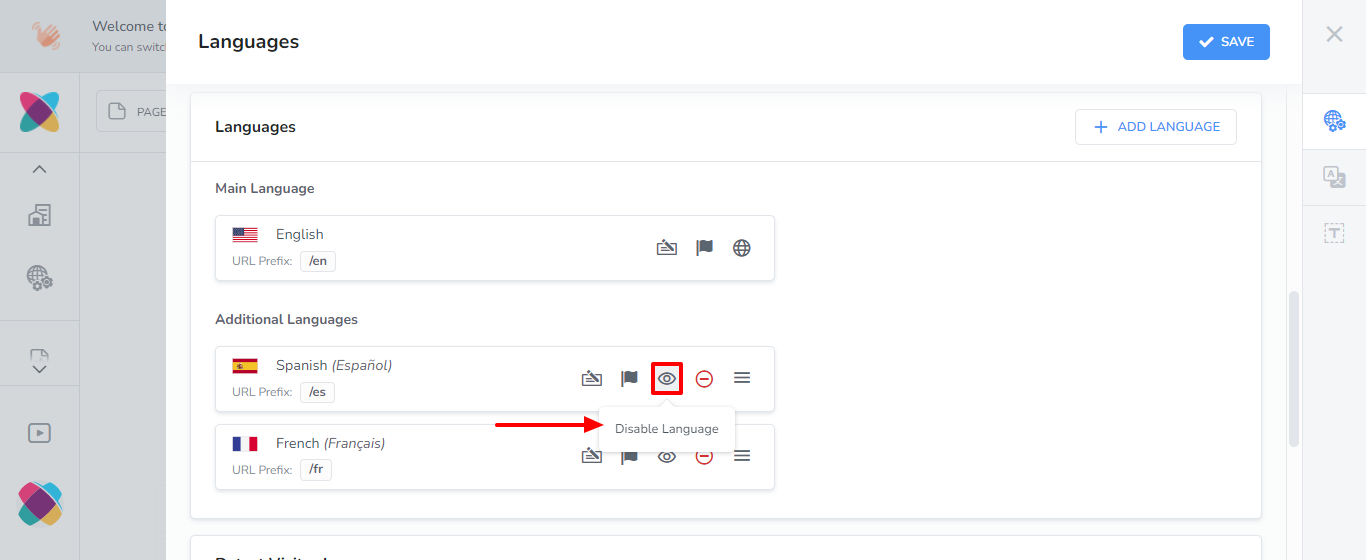
If you will no longer like the website for a particular language to be displayed, you can use this option and disable the language.
> Delete Language:
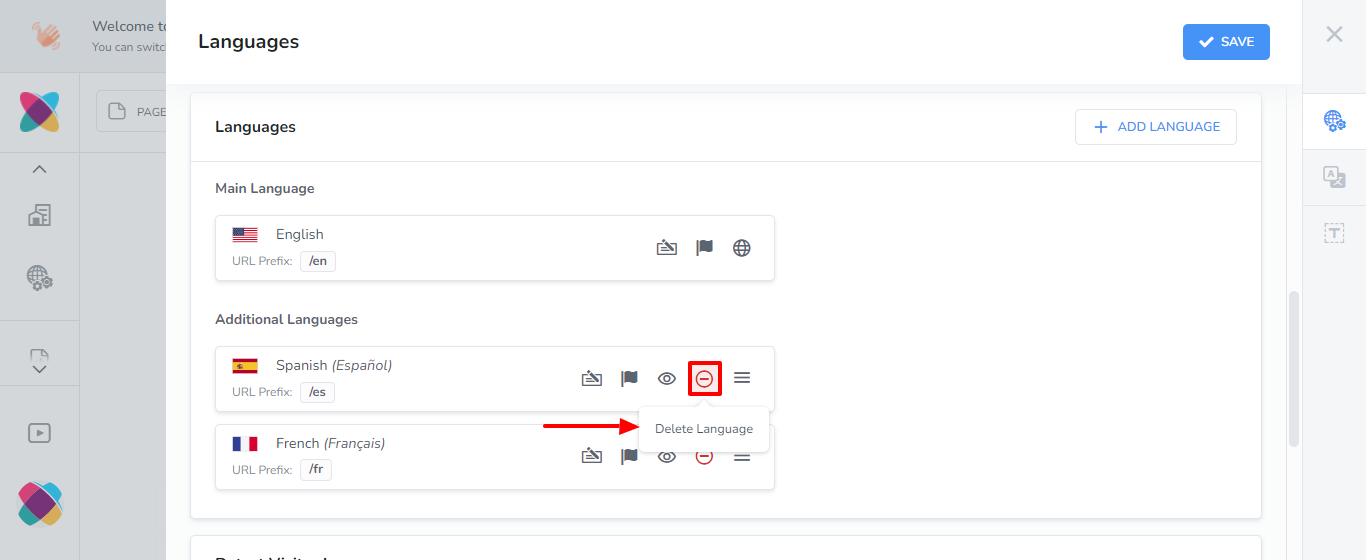
Use this option to completely remove a language from your website.
> Re-order:
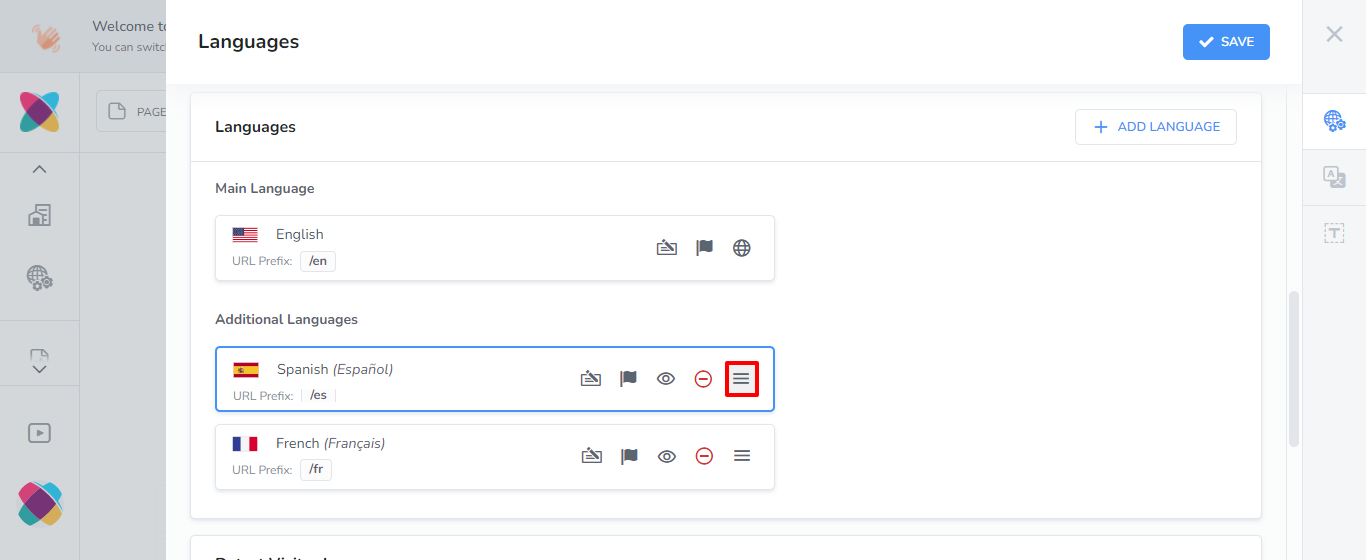
The additional languages will have the option to click and move them so you can re-order your languages.
Detect Visitor Language
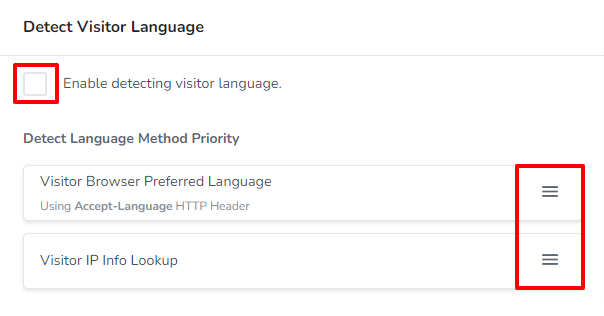
If you will like the language of your website viewer to be automatically detected, you can enable that option in this section.
The language will be detected based on their Browser Preferred Language or based on their IP Info Lookup.
You can use the re-order icons at the left of each method to change the priority for which the language is detected.
Viewing your website in your additional languages
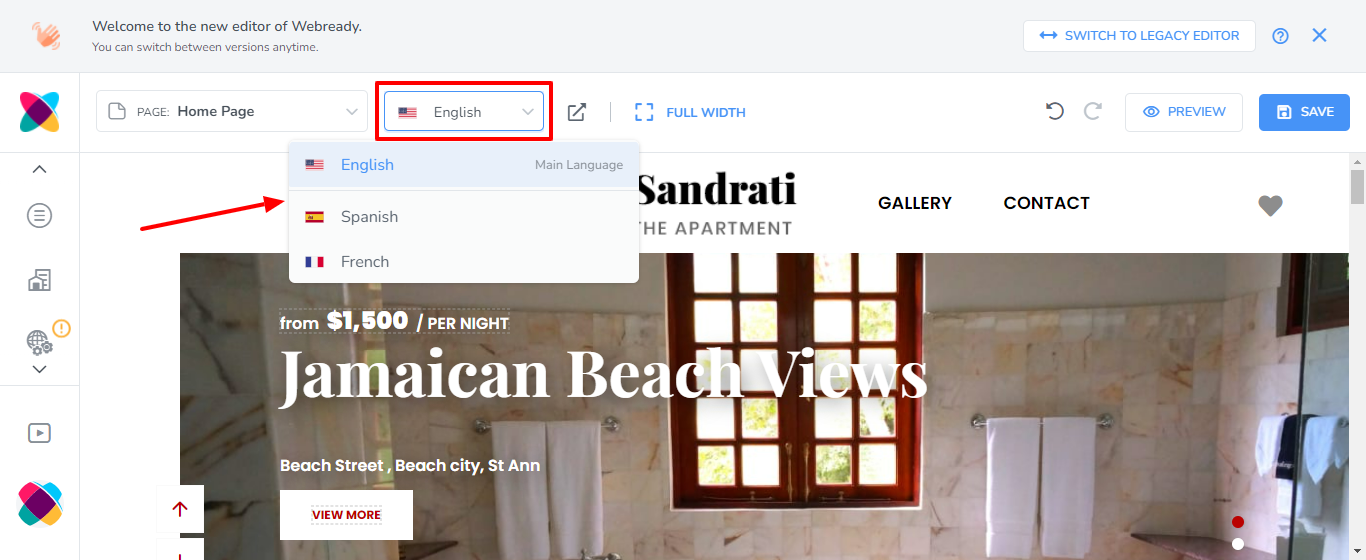
Once you have enabled multi-language on your website, you will see a dropdown of your languages in the Editor.
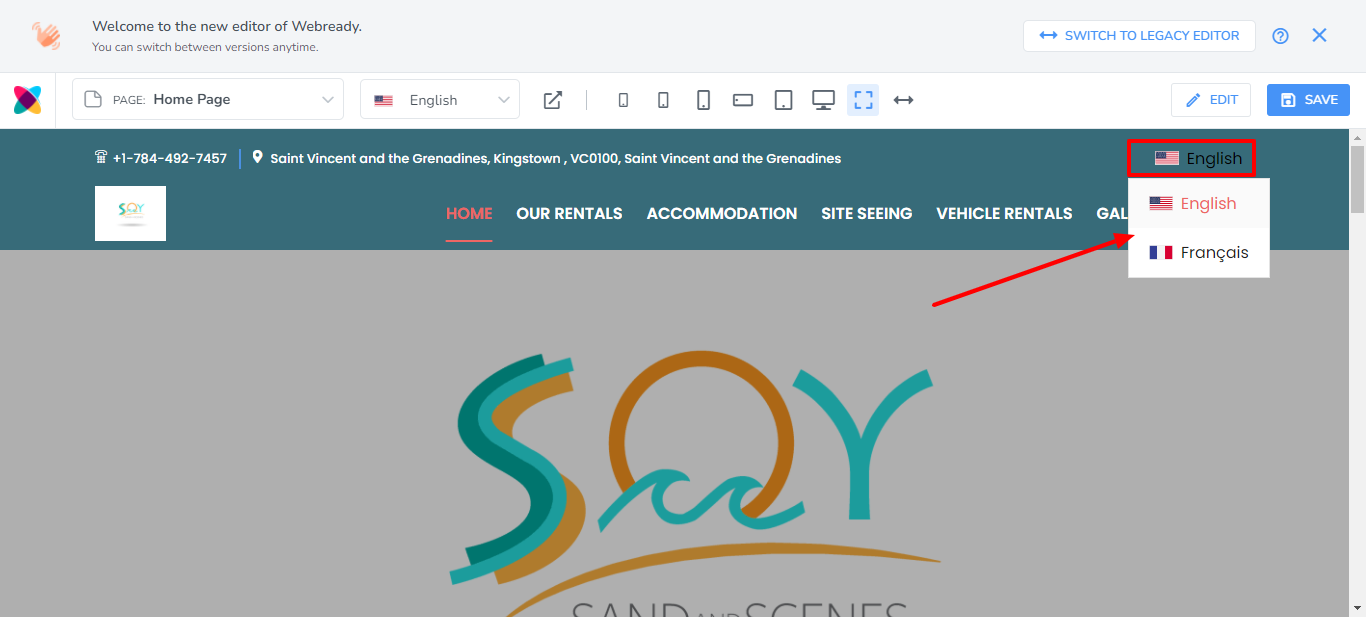
On your live website, the language options will be displayed in the footer. For some templates such as Pearl, you will also see the options listed in the Navigation menu.
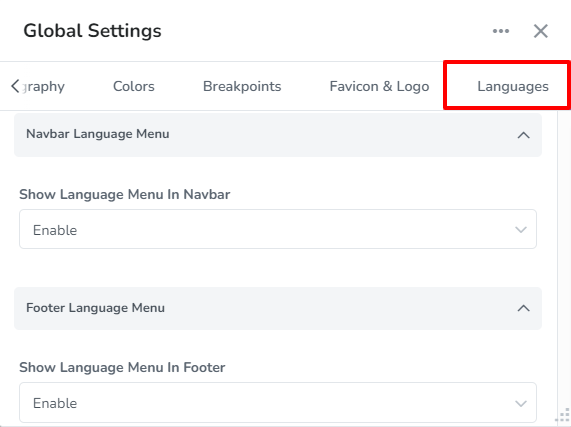
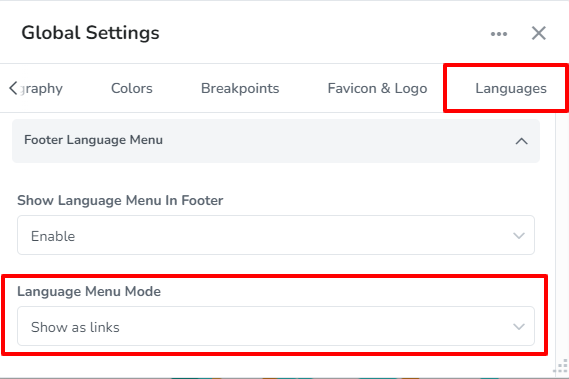
There will also be options available in the Global Settings in a Languages tab to allow you to enable or disable if the language options are displayed and how they should be shown.
Language options in Navigation menu:
The footer options in global settings allow you to display the languages as links or as a menu.
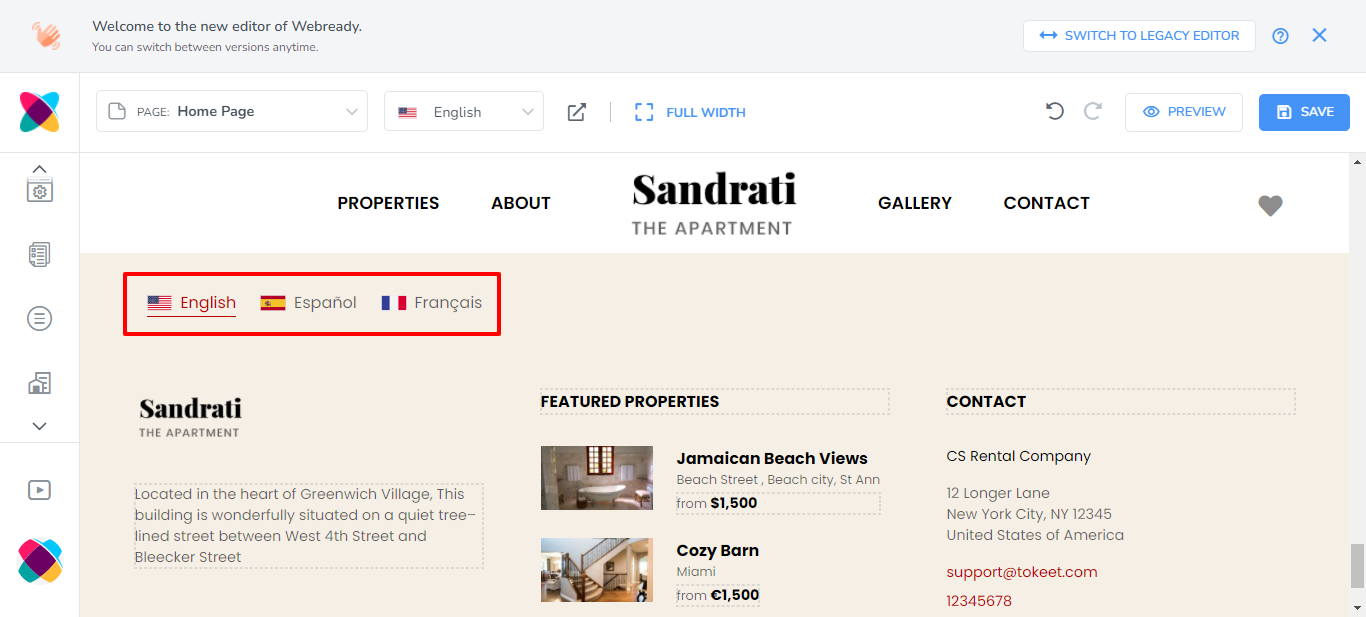
Footer language options shown as links:
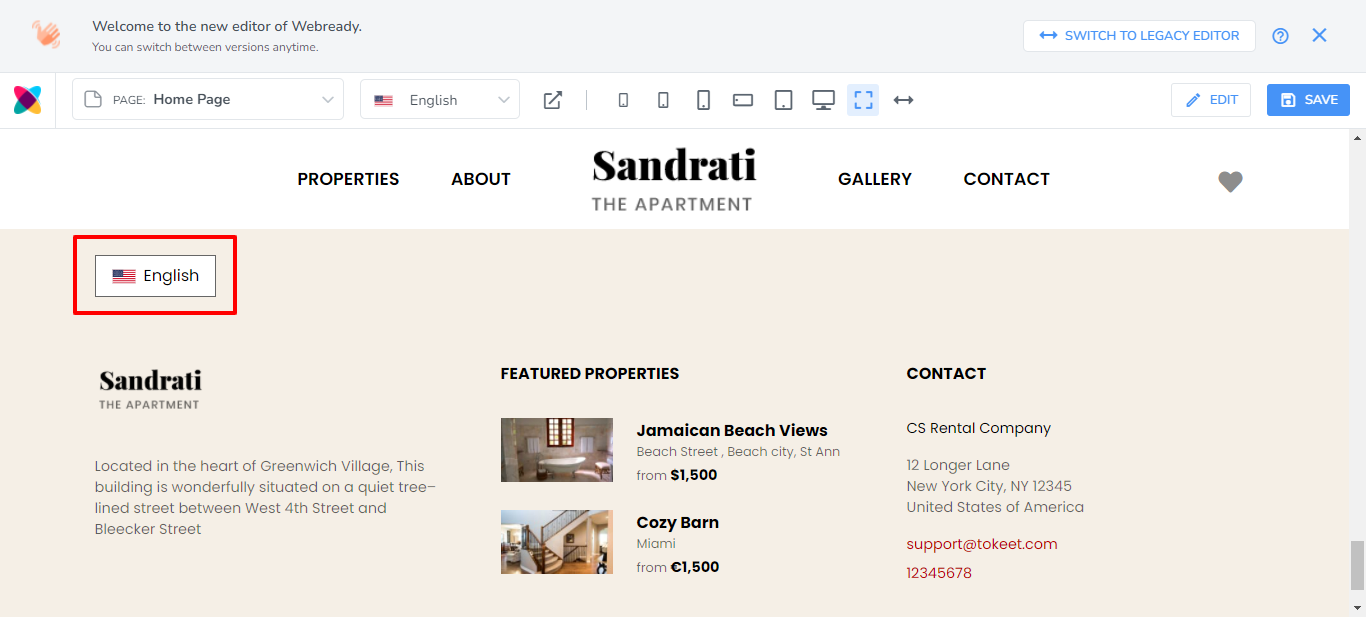
Footer language options shown as a menu:
Adjusting the Language settings displayed on the website
Whether your language options are displayed in the footer only or in the footer and the navigation menu, you will have settings that can be adjusted. Simply click on the Settings icon:
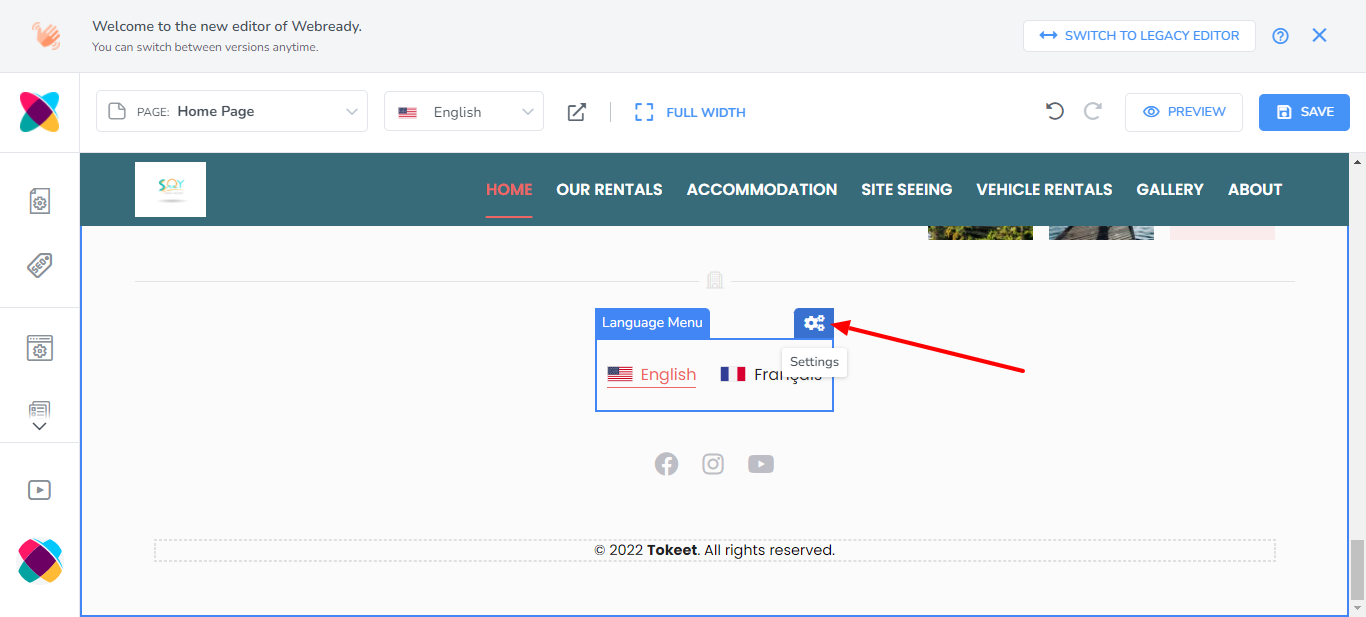
You will be able to adjust the order that the languages are displayed, whether to show the flag or not, or if to show the language label or the language code/prefix.
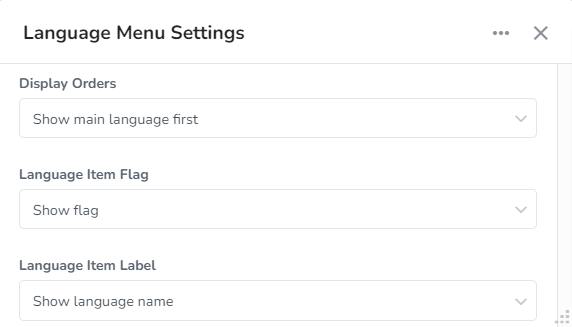
Display Order - Choose to "Show main language first", "Show active language first" or "Sort by alphabetical order".
Language Item Flag - Select either "Show flag" or "Don't show flag".
Language Item Label - You can choose either "Show language name" or "Show language code/prefix".
If you or your website viewer chooses a language besides the main language, then the site will be displayed showing the translations that you added for the website.
The website url will include the language prefix that was set for each additional language.
e.g. if the Spanish version of your website has a language prefix of "es" and the url for the main language is "www.mywebsite.com" the Spanish version will be "www.mywebsite.com/es"