Webready Help Center Webready Help Center
  • Getting Started
    • How to create a Webready website
    • Understanding Webready Pricing
    • Webready Setup Checklist
    • Webready FAQ
  • Domains
    • Keeping the Free Webready URL
    • Assigning a Domain to your Webready website
    • About Domains
    • Configuring DNS to Point your Domain to Webready
    • Removing a Domain from Your Webready Account
    • Unassigning a Domain from Your Site
    • Securing your domain with an SSL certificate
    • Connecting Your Own Domain Name
    • Adding a Webready Domain
  • Accepting Payments
    • Payment Gateway
    • Payment Rules
    • Accepting Payment On Your Website
  • Managing your Website
    • How do I prevent spam from my website forms?
    • How do I keep track of my bandwidth?
    • How is my bandwidth calculated?
    • About your Website's Storage and Bandwidth
    • How to help my website get listed on Google
    • Exceeding Your Site's Bandwidth Limit
    • Why doesn't my bandwidth match Google Analytics?
  • Webready Editor
    • Booking Settings
      • Booking Form Presets
      • Booking Form Settings - Upsells Tab
      • Booking Form Settings - Discount Codes Tab
      • Booking Form Settings Overview
      • Booking Form Settings - Sidebar Tab
      • Booking Form Settings - Layout Tab
      • Booking Form Settings - Style Tab
    • Editor V2
      • Featured rentals and Custom rentals list feature (Editor V2)
      • How do I add or adjust my image logo?
      • Allow Gap Night Setting
      • How do I redirect my pages? (Editor V2)
      • How to use the Website Editor V2
      • Adding Custom Code to your Website
      • Global Settings Overview
      • Contact Form Settings
      • How do I set up a Cookie Policy on my website?
      • How do I add a telephone number to my forms and booking page? (Editor V2)
      • How Do I Access the Webready Editor V2?
      • How to create a text logo for my website?
      • How Do I Add Password Protection to my Website or Webpage?
      • Creating a Custom Page
    • Featured rentals and Custom rentals list feature
    • How do I add a telephone number to my forms and booking page?
    • How do I redirect my pages?
    • How Do I Block Dates from Check-in or Check-out?
    • How to use the Website Editor
  • Reports
    • Margins Custom Report Views
    • Reports Overview
  • eDocuments
    • Automations
      • eDocuments Automations
    • Inbox
      • eDocuments Inbox
      • eDocuments Photo Identification
    • Templates
      • eDocuments Documents
      • Cancel A Pending Signature Template
      • eDocuments Contracts
      • eDocuments Custom Codes
      • eDocuments Templates
      • Share an eDocuments Template
      • Send an eDocuments Template
      • Create A New eDocuments Custom Code
      • eDocuments Forms
      • eDocuments Data Dictionary
      • Create A New eDocument Tag
    • eDocuments Overview
    • eDocuments FAQ
  • Settings & Configurations
    • User Settings & Logins
      • How Do I Add Users?
    • Using Webready in Multiple languages
    • How Do I Add a Chat Box to my Website?
  • Rates
    • What is a Base rate?
    • How do I add a Discount Code?
    • What is a Dynamic Rate?
    • LOS (Length of Stay) Discounts
    • Rate Types in Webready
    • What is a Standard Rate?
  • Integrations
    • Webready Integration with Beds24
    • Webready integration with Pricelabs
    • Webready Integration with Hostaway
    • Webready integration with RentalWise
    • Webready Integration with Hospitable
    • Webready integration with Google's Vacation Rental platform
    • Google Vacation Rentals FAQs
    • Webready Integration with Booking Automation
    • Webready integration with OwnerRez
    • Webready integration with FantasticStay
    • Webready integration with Zeevou
    • Webready integration with Lodgify
    • Webready Integration with Wheelhouse
    • Webready Integration with Uplisting
    • Webready integration with Channex
  • Airbnb
    • Connecting to Airbnb
    • How do I refresh my Airbnb property list?
    • How to Rank Higher on AirBnB
    • Airbnb Connector FAQ
    • Co-hosting with Airbnb
    • Requirements for an Airbnb Rental
    • Airbnb Connector Overview
  • Automation
    • Webready Automations Overview
    • Data Dictionary
    • Automation Templates
    • HTTP Webhook Triggers
  • Rentals
    • Linking Rentals Together
    • How do I delete rentals?
    • Auto sync rental changes
    • Syncing your rentals manually
    • How do I add booking fees to my rental?
    • Manually adding your Rentals
    • Uploading Rentals from a CSV
    • How do I create Rentals?
  • Upsells
    • How Do I Display Upsells on my Website?
    • Upsells Overview
    • How Do I Create a Sale?
    • Upsells Reports
    • How to create an invoice for my upsells?
    • How Do I Create an Upsell?
  • Images
    • How do I add Images?
  • Webready Translator
    • Webready Translator: Translations
    • Webready Translator Overview
    • Webready Translator: Formats
    • Webready Translator: Languages
  • Invoices & Billing
    • Invoice Management
      • How to create Invoice templates?
      • Invoicing & Payments
      • How Do I Make Changes to an Invoice?
      • Scheduling Invoices
      • How to set up Invoice Rules?
      • Creating Credit Notes
      • How Do I Request a Partial Payment or Deposit Payment?
      • How Do I Charge a Guest for Multiple Items on an Invoice?
    • Payment Gateways
      • How Do I Accept Payments Online and Via Credit Card?
  • Managing your Account
    • How Do I Add or Remove My Credit Card?
    • Account Info Overview
  • App Store
    • App Store Billing & Subscriptions
    • App Store Overview
    • App Store FAQs
  • Messages
    • Messages: Spam
    • Messages Overview
    • Messages: Email Notifications
    • Messages: Inbox
    • Messages: Spam Filters
    • Messages: Templates
  • Webready Bookings
    • Webready Calendars Walkthrough
    • Creating Hold Events in Webready
    • Creating a Manual Booking
    • How Do I Delete an Inquiry?
    • How Do I Edit Bookings?
    • Creating a Website Booking Link
    • Importing an External Calendar
    • How do I view my messages?
    • Webready Booking List
    • Making Reservations for Individual Bedrooms
Messages / Messages: Spam Filters /
Website Login

Messages: Spam Filters


Receiving spam in your inbox can be a nuisance. With that in mind, Webready Messages included a Spam Filter features to allow you to specify different conditions that will flag a message as spam and take it automatically to your Spam folder. Here's how.

Creating Spam Filters

  • Navigate to Messages

The Messages section is an add on feature that you have to subscribe to, through the App Store.

To access the Messages section, scroll through the left pane and click on the Messages icon:

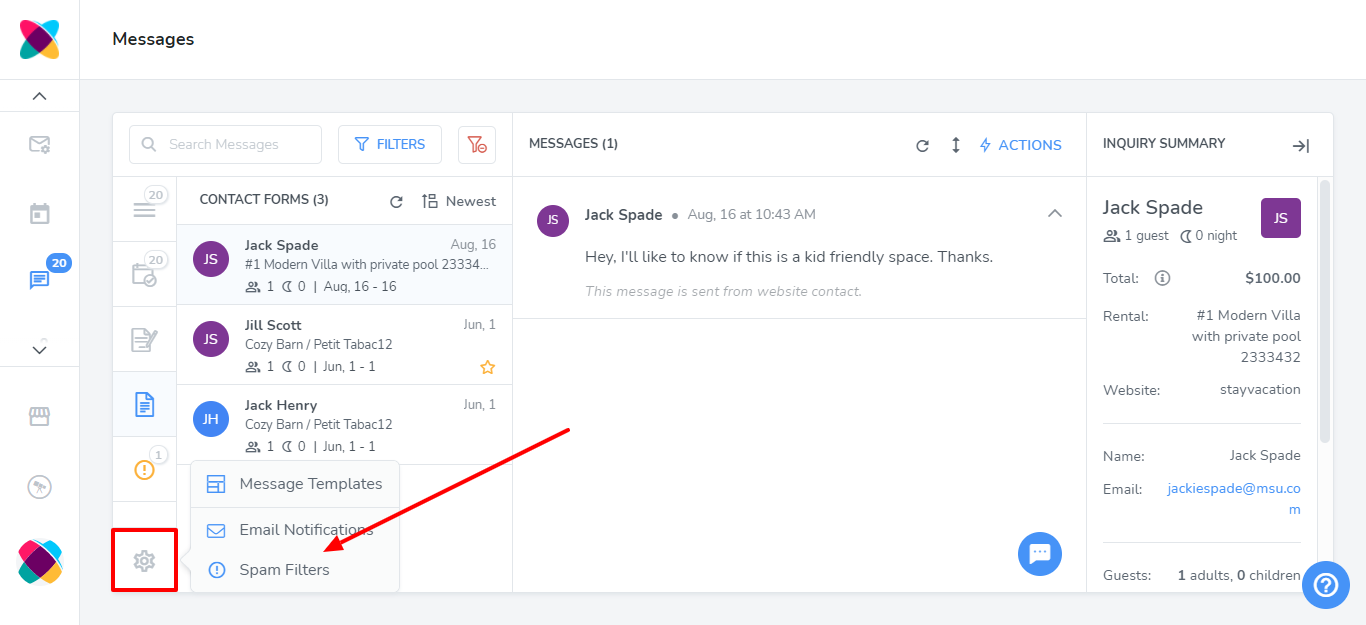
  • Click on the Settings icon then click on Spam Filters.

  • Click on the Add button.

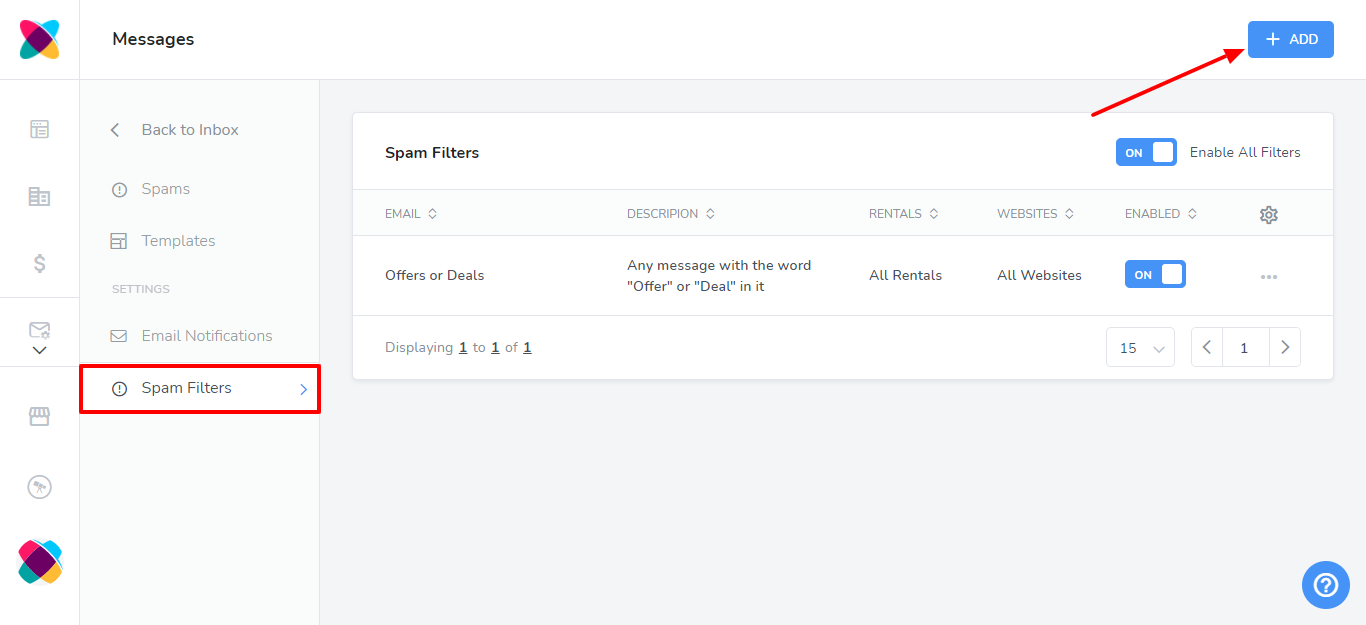
An overlay will pop up allowing you to enter the details for the spam filter.

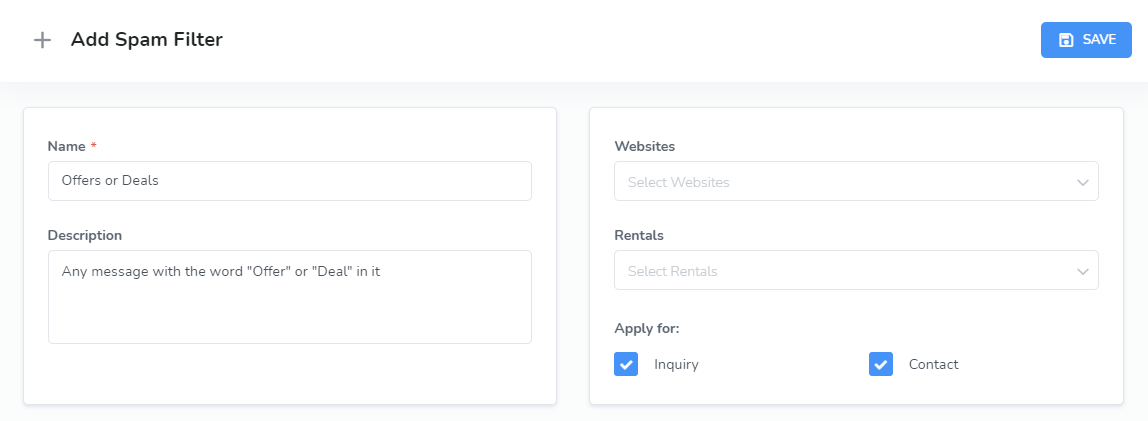
  • First, enter a name. You can also add a description and choose which type of form the filter will be applied to - by default, it will apply to both the inquiry and contact form.

If you will only like the filter to apply to particular websites or rentals, then you can specify which ones in the drop down lists provided.

Add at least 1 rule to your spam filter. This is where you specify the values that should be flagged in a message.

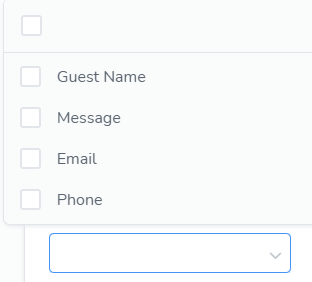
  1. Select the fields that should be checked from the message. The checkbox at the top will select all fields, or you can tick the individual checkboxes to choose particular fields.

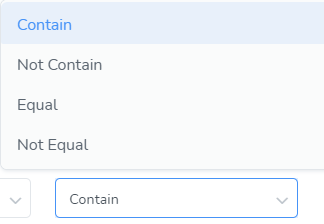
  2. Select the condition that must be true for your selected field(s) for the message to be flagged as spam.

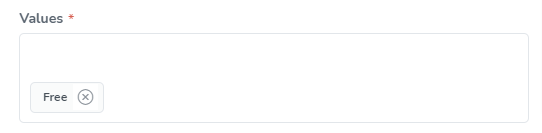
  3. Type in the value that will cause the message to qualify as spam then press Enter. You can enter multiple values.

  4. If you need the letters in the message to match the exact case that you specify as a value, then select the "Case Sensitive" checkbox. If it doesn't matter if the value is in lower case, capitalized or in all caps etc, then leave the box unchecked.

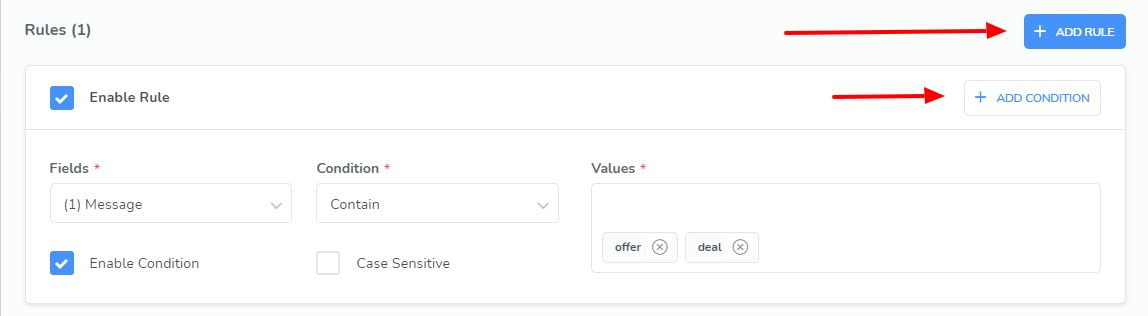
  5. If you will like to add multiple conditions to the rule, click on the Add Condition button. To add multiple rules, click on the Add Rule button and repeat the steps above.

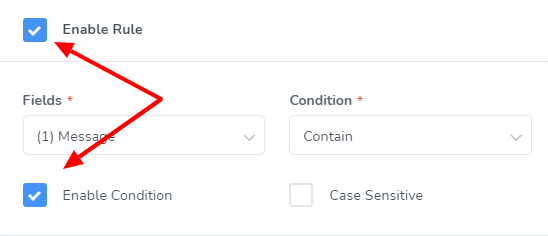
    You can also choose to disable a rule or condition by unchecking the corresponding checkbox.

  6. Click Save

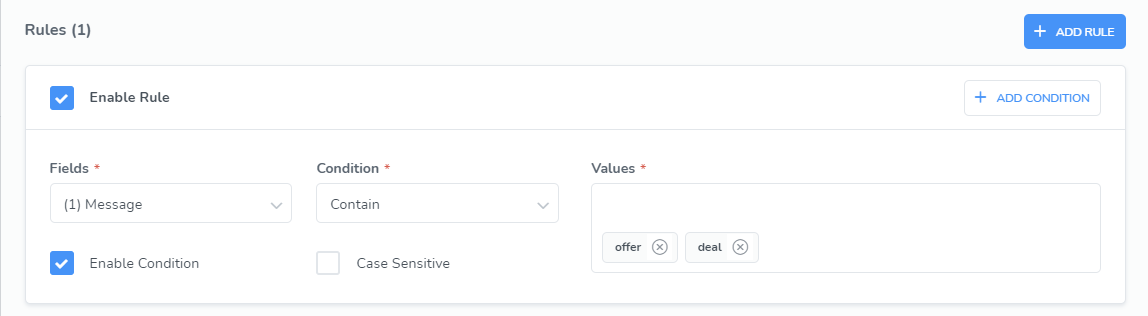
The example below looks in the message field and if it contains the words "offer" or "deal", it flags the message as spam. The case sensitive checkbox is not ticked, so it would not matter if the words are capitalized or in full caps etc.

That's all it takes!

Any messages meeting the conditions that you set in your spam filter will automatically be placed in your Spam folder.

As always, please contact us with questions any time.  We're happy to help.
How did we do? Thank you! We appreciate your feedback.
Website Login
Copyright © 2025 Webready. All Rights Reserved.
No documents match your search.
Searching...