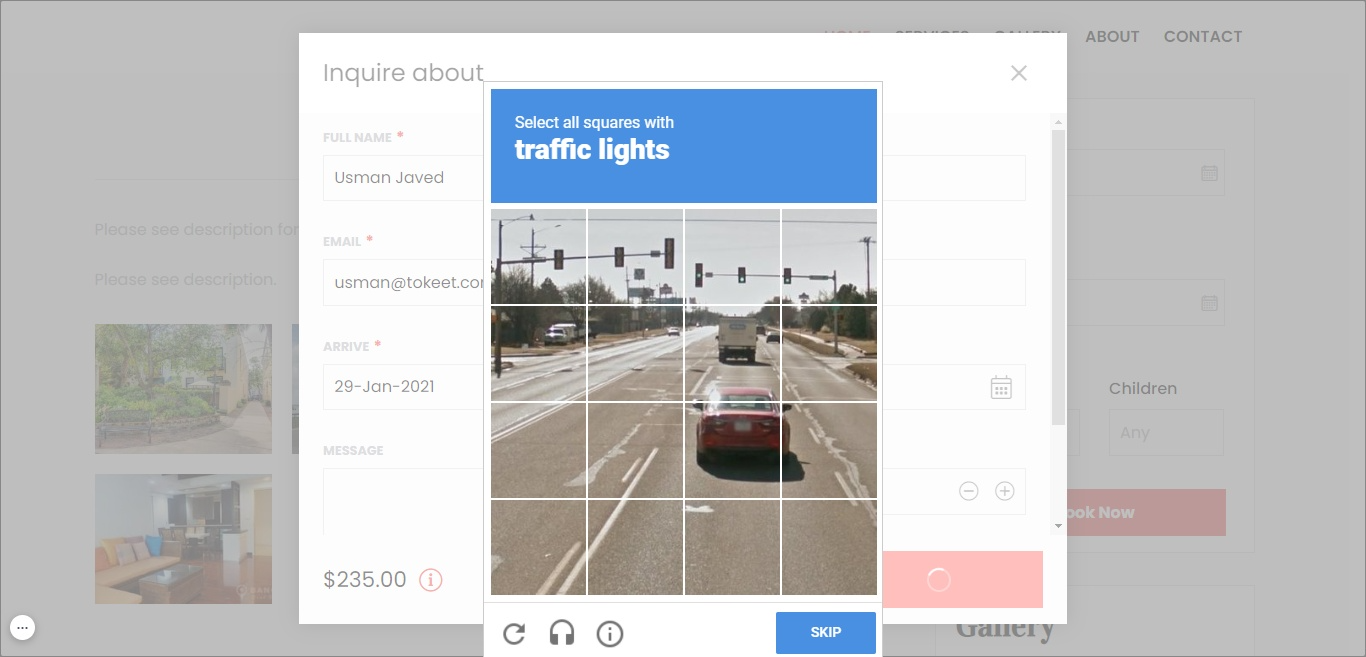
When using forms on a website to get information from users, one of the nuisances is dealing with spam. In Webready, we have added the functionality to add a safe-guard against spam for your contact and inquiry forms. This guide shows you how to implement this for your website
Webready uses Google's Invisible reCAPTCHA (https://www.google.com/recaptcha) to protect against spam. To use this feature, you will need to register their own reCAPTCHA credentials.This process is quick and easy - steps are outlined below.
Registering for the reCAPTCHA credentials
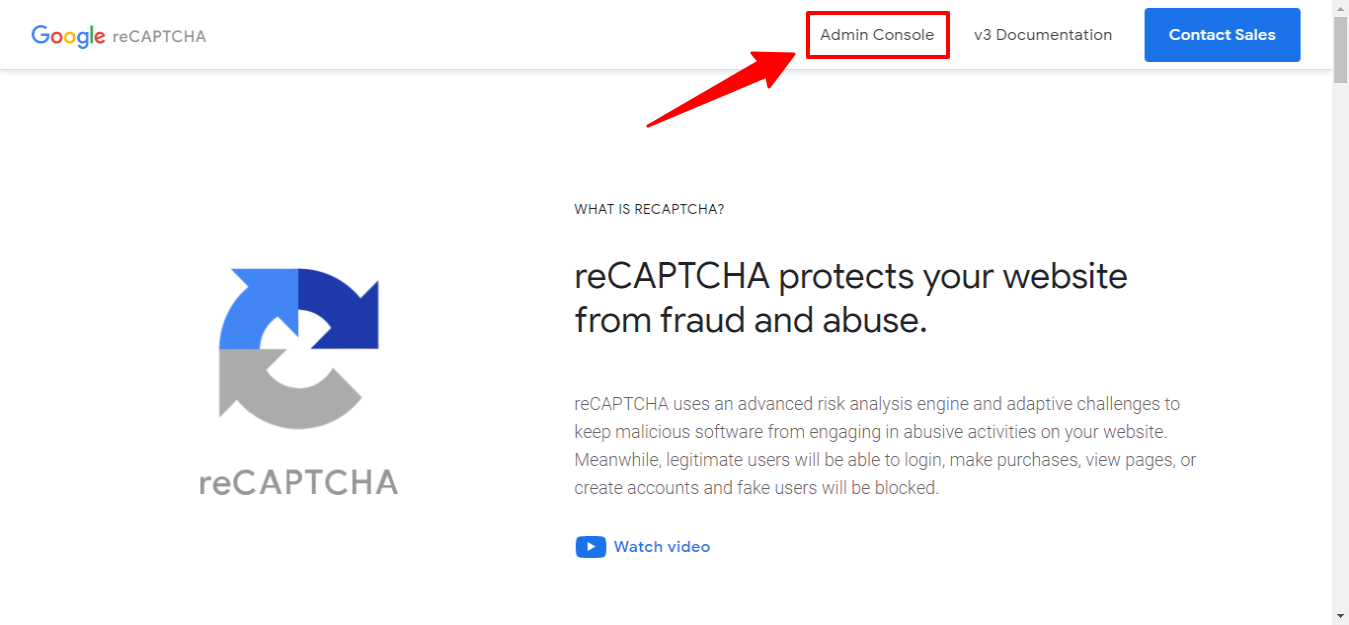
Open https://www.google.com/recaptcha/about/ in your browser.
Click on the Admin Console button. Sign in to your Google account if prompted to do so.
You will now see a form to complete to Register a new site.
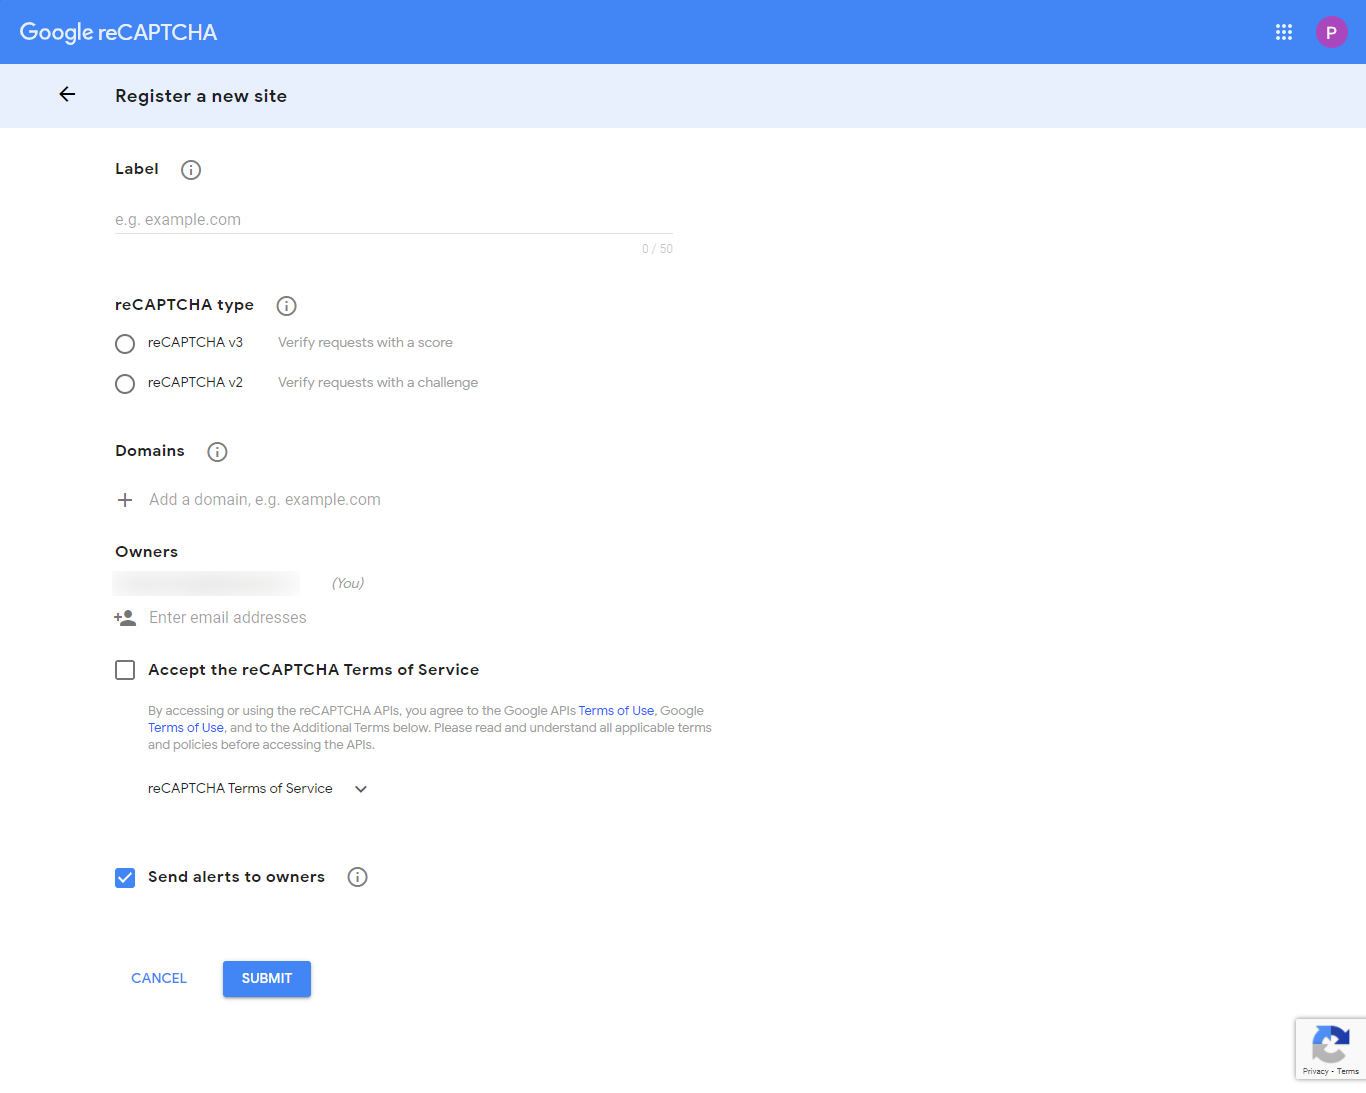
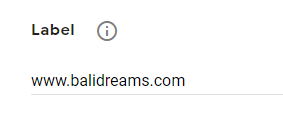
Enter a name under the Label field such as the name of your website.
Under "reCAPTCHA type", select reCAPTCHA v2 then Invisible reCAPTCHA badge.
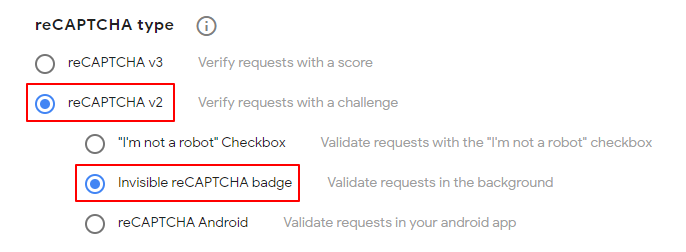
Enter your website domain name in the space provided under Domains.
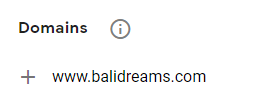
If you need to enter multiple domains, click on the + icon to add additional entries.

Click on the checkbox to accept the reCAPTCHA Terms of Service.
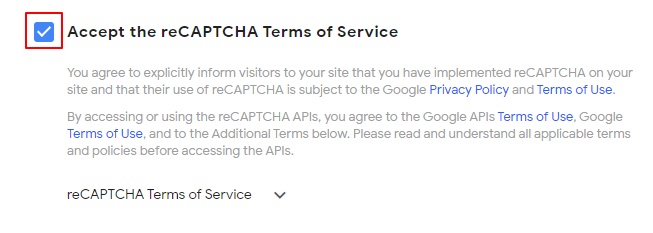
Click Submit

You will now see the Site Key and Secret Key that are needed to use this feature in Webready. You will see that there are buttons to allow you to easily copy the values.

Adding the reCAPTCHA keys in Webready
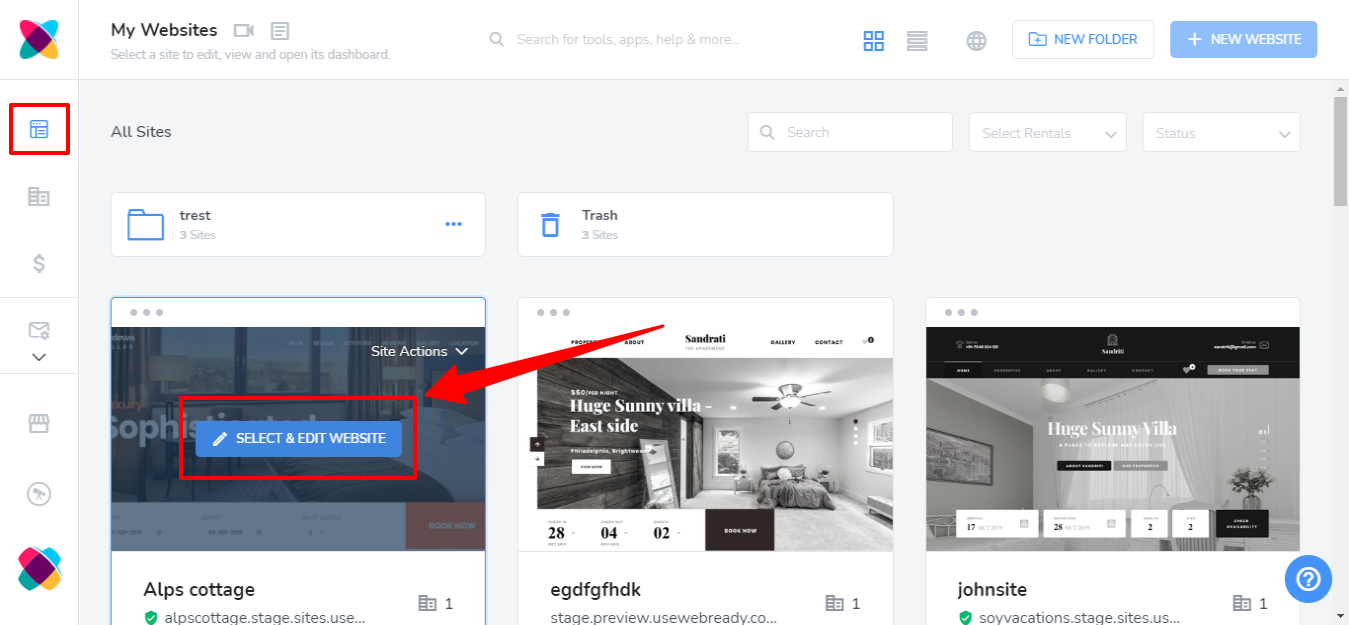
Go to "My Websites", locate the website that you will like to add the reCAPTCHA keys to, and click "Select & Edit Website".
Click on the Settings tab.

Select the Inquiries tab.

Select the "Enabled reCAPTCHA on inquiry and contact forms" checkbox.

Go back to your Google ReCAPTCHA page in your browser then copy the Site Key and Secret Keys into the spaces provided in Webready.
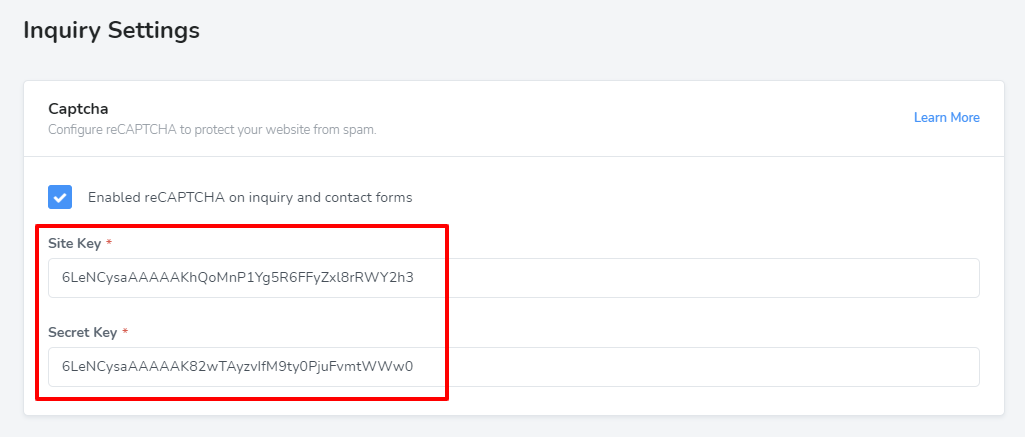
Click Save.
Re-publish the website.

That's it!
Once you have done this, the invisible reCAPTCHA will be applied to the Inquiry form and Contact form on your website.
When a website user clicks on the Submit button on the form, the reCAPTCHA popup will be shown to the user as below.
