Upload and manage your contracts, documents and forms easily with eDocuments. With a wide range of supported formats and an intuitive drag-and-drop template editor, you will be creating professional-looking templates in record time.
Creating Your New Template
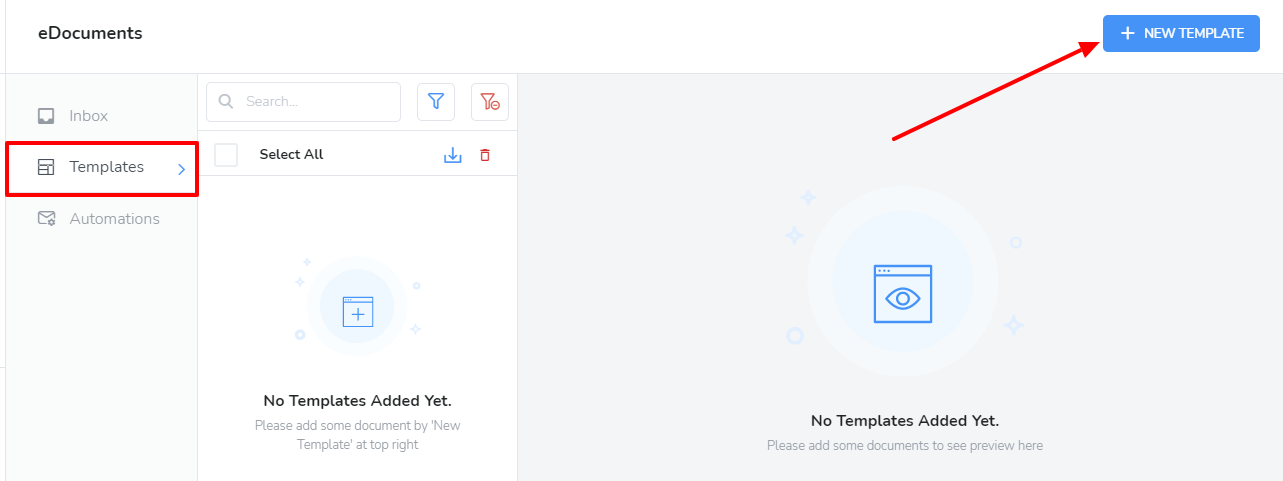
Click on the eDocuments icon in the left navigation panel

Click on the Templates tab then click New Template
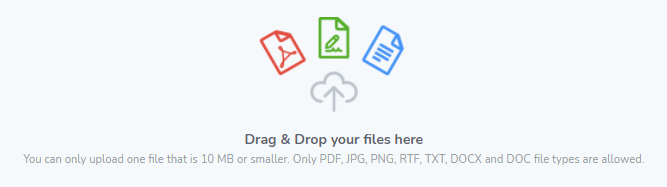
Drag & drop files, or click the area below to upload a file that is saved on your device.
Select the Template Type for the template, whether it will be a contract, a document or a form.

Give the template a Name, and add a Description that will allow you to quickly understand the purpose of the template. You may also add the email subject and message.

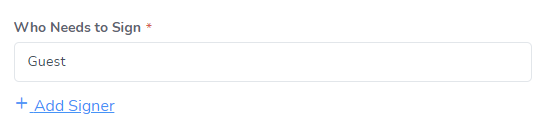
Edit the existing role, or click the Add Signer button to create additional Signing Roles for your document (for example, Property Owner and Guest).
Select any of the photo identification options as required if you want to request photo identification with your signed template.

Click the Save button
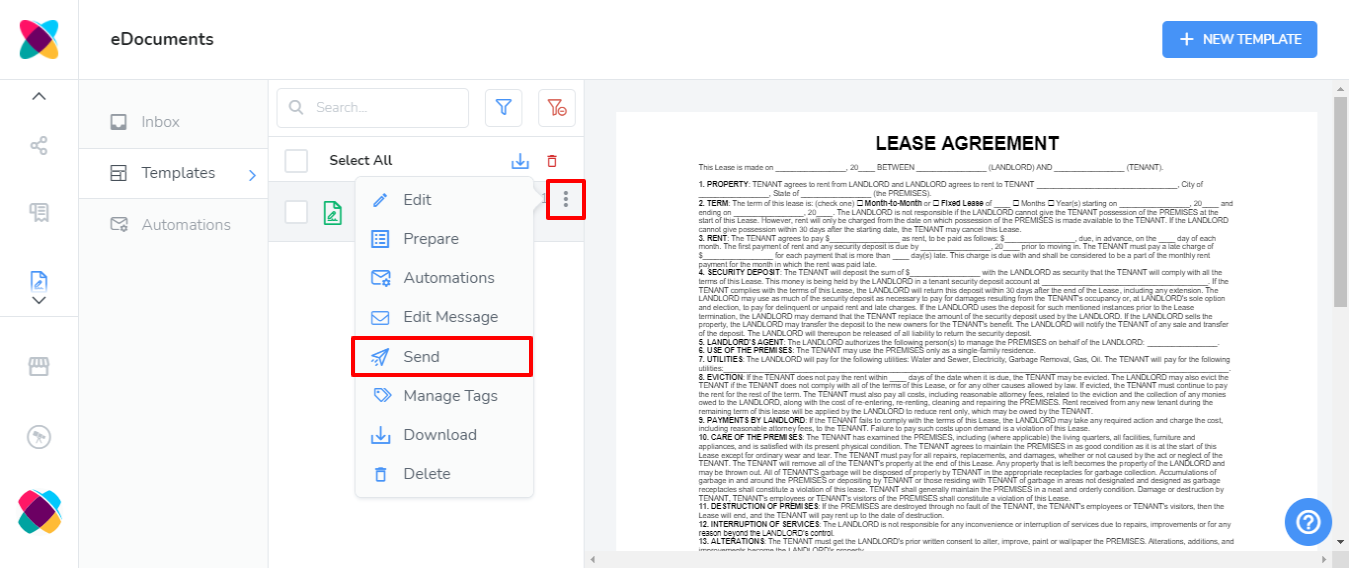
Your template will now be listed in your Templates section. Using the options icon will allow you to perform different actions on your template, such as adding fields to it to prepare your template for signing:
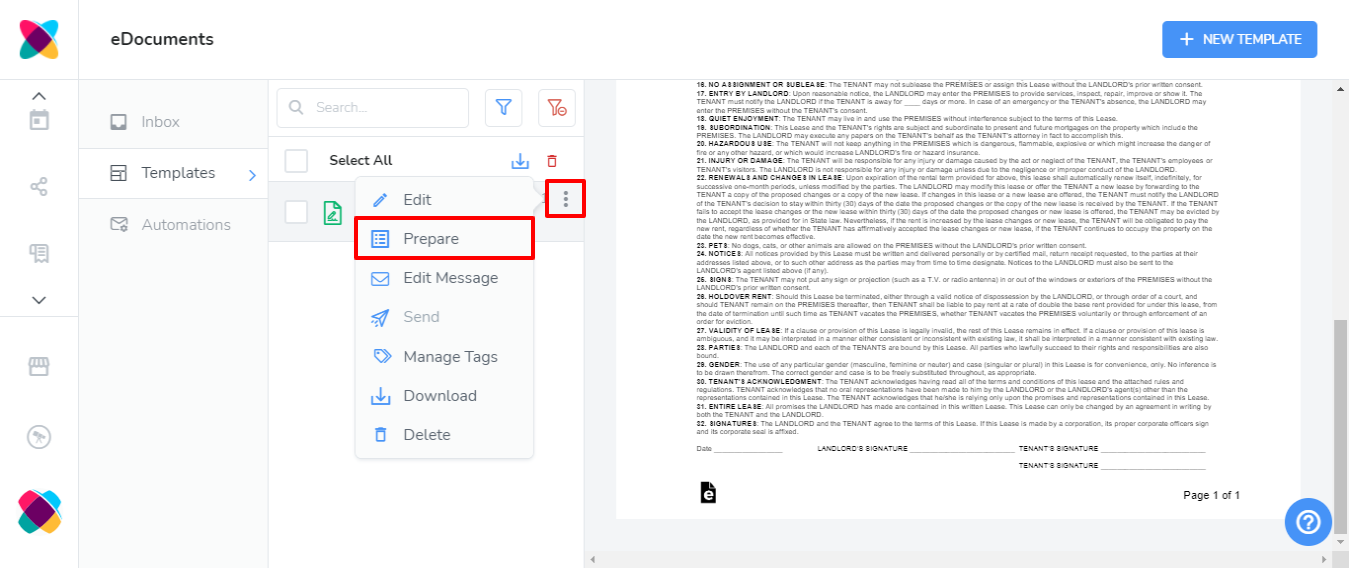
Preparing Your Template For Signing
Depending on the template type, the template editor will have different fields available for insertion into a template. For more information about the different template types, and their editing options, please click on one of the links below to open a help guide:
Sending Your Template
Once the document is prepared and saved, you are returned to the Templates page.
Click the Options button and select Send to open the Send Template modal.
Enter the Name and Email addresses of all recipients. If the guest or Webready user exists in your account, then you will be able to select them from the drop-down menu.
Customize the Contract Name, Message Title, and Message body to give the sent message a more personal feel.
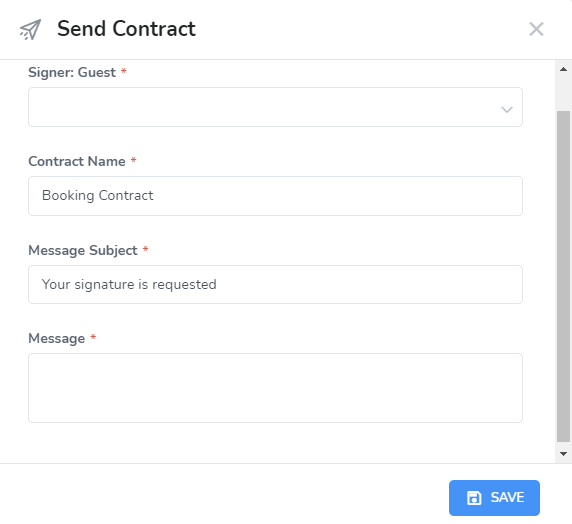
Click the Save button to send your template to the specified recipients. If you have selected a Webready user with a saved password, the template will automatically be signed, and the Webready user will only receive the confirmation email.
That's it! All recipients are sent an email with an electronic link to the contract for eDocuments. Once the template is signed by all recipients, all parties will get a link to the signed template for their records.
Managing Your Templates
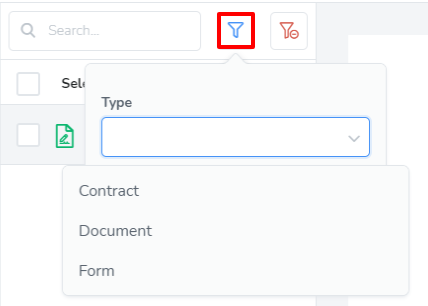
Use the filters at the top of the templates area to filter the list by template type.
Click the Options button and select Manage Tags to open the Manage Tags modal.
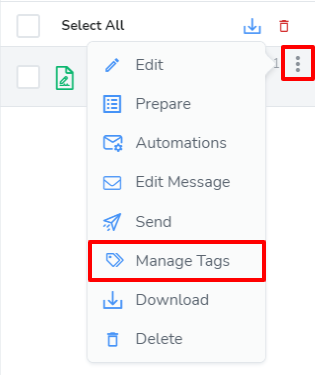
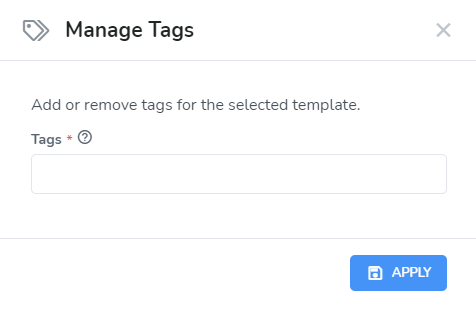
Tags can be assigned to the custom code in order to make sorting and organization of your different codes easier.