Adding rentals from Tokeet and syncing rental changes between Tokeet and Webready is easy.
In this article, we'll show you how to do this from either direction, manually.
First, go to your Rentals module and click on the Sync Changes button.

Click on the dropdown to select the sync direction you will like. You can either sync changes from Tokeet to Webready (default) or from Webready to Tokeet.

Selecting Rentals to Sync
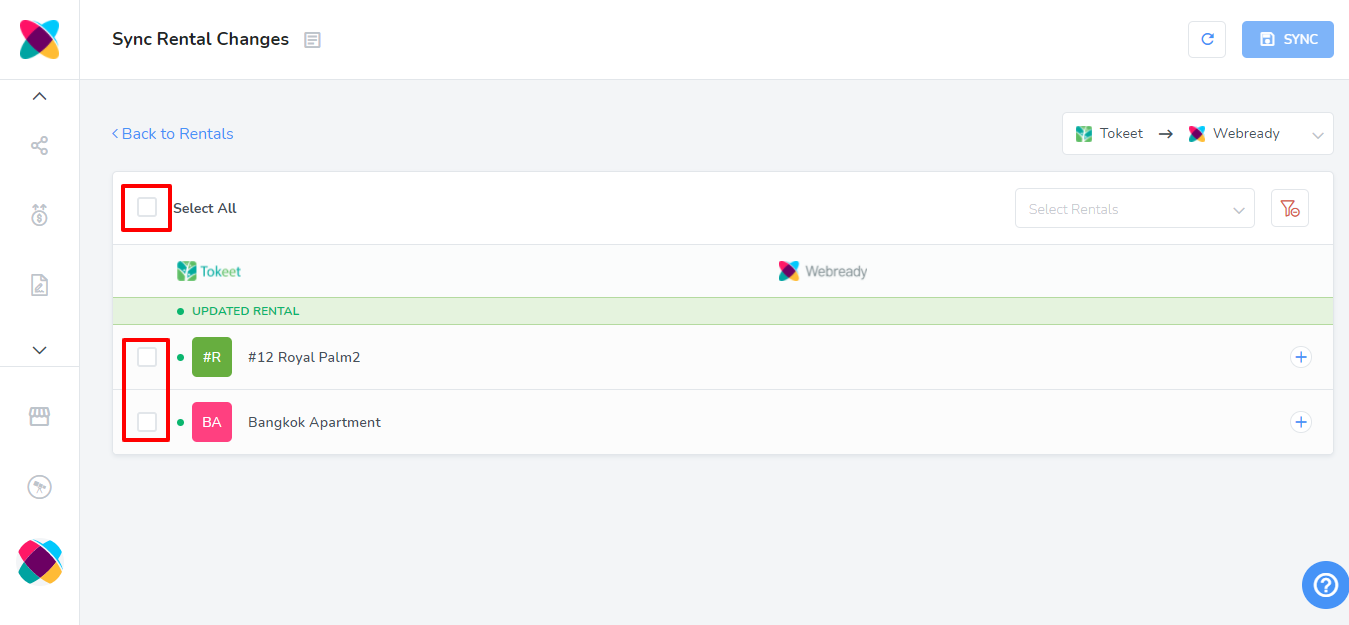
On the "Sync Rental Changes "screen, you can select which rentals you would like to be updated in Tokeet or Webready.
There is a Select All checkbox that will sync all changes for all rentals to Tokeet or Webready, depending on your sync selection.
You can also select checkboxes for individual rentals that you want to be synced.
Adding New Rentals
Rentals that have been added will be listed under the "Rentals Added" category. If it was added in Tokeet and you need it added to Webready, use the Tokeet -> Webready sync option, select the checkbox for that rental and click Sync. If it was added in Webready and needs to be added to Tokeet, select the Webready -> Tokeet sync option instead.
Deleting Rentals
Rentals that have been deleted will be listed under the "Rentals Deleted" category. If it was deleted in Tokeet and you need it deleted from Webready, use the Tokeet -> Webready sync option, select the checkbox for that rental and click Sync. If it was deleted in Webready and needs to be deleted from Tokeet, select the Webready -> Tokeet sync option instead.
Updating Rentals
For rentals with updated information, you will see them listed under an "Updated Rental" category.
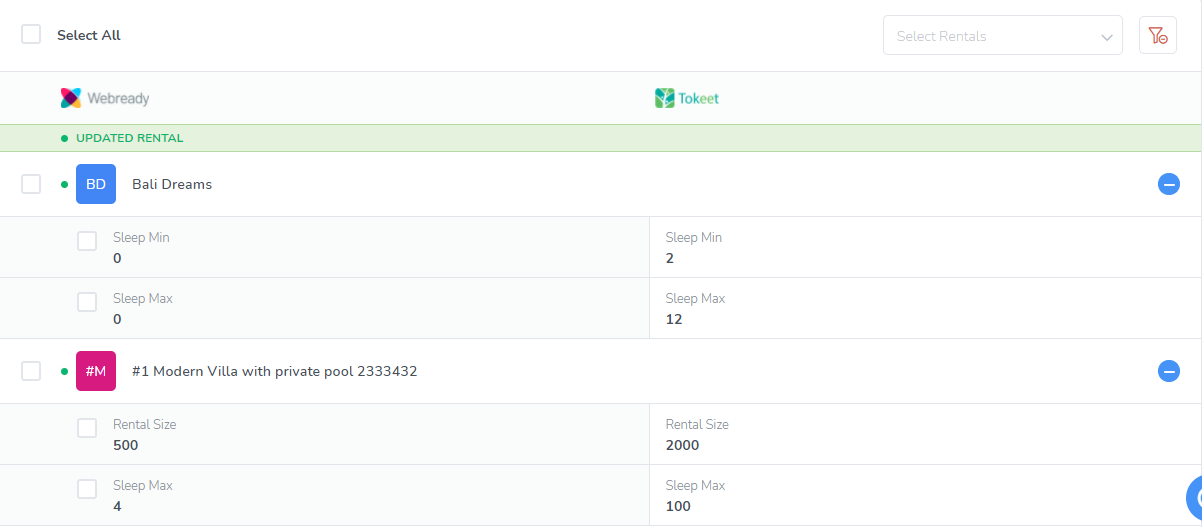
When updating rentals, you can select individual updates within each rental by clicking on the + at the right of the rental to see all of the updates possible.
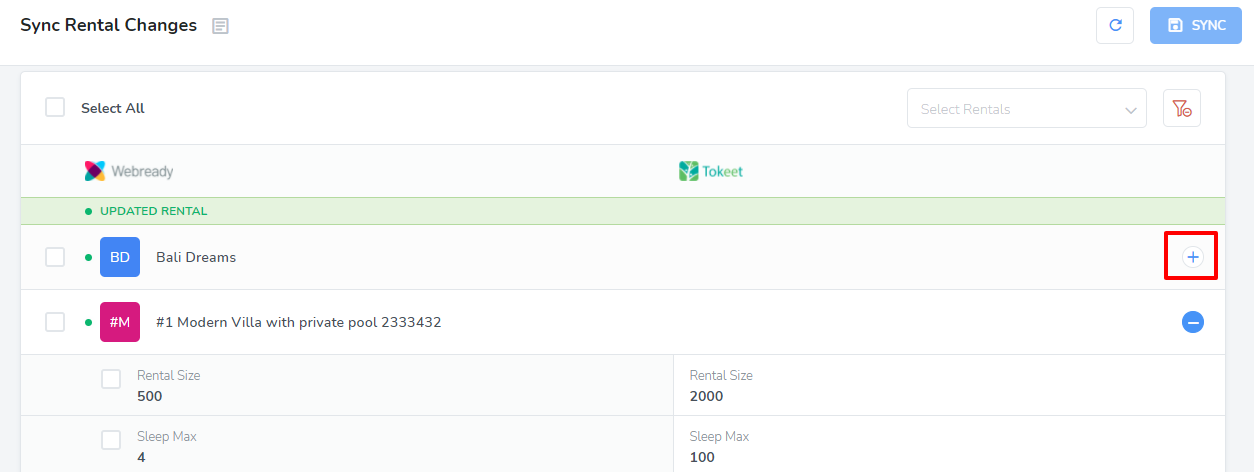
There will be a Webready and Tokeet column showing the values that are in each app, for the rental. After selecting which changes to sync, you can choose whether to sync Tokeet values to Webready or vice versa, then click Sync.
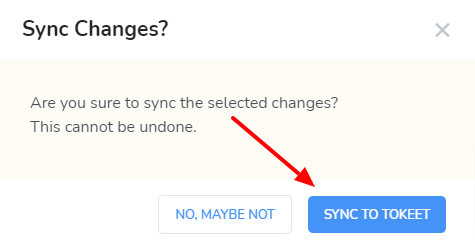
After clicking on Sync in the top right corner, you will then see a confirmation message.
It will ask if you are sure you want to sync From Tokeet or To Tokeet, depending on which sync option you have selected.
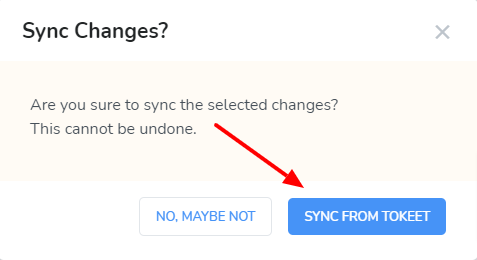
If the updated values that you want synced for the rental are in Tokeet, then you should select Tokeet -> Webready. If the updated values for the rental is in Webready, then you should select Webready -> Tokeet.
Congratulations! You have now successfully synced your rentals between Tokeet and Webready.