When changing rental information on Tokeet or Webready, you can now choose to have these changes automatically synced. You may choose to have the sync only be from one direction, eg. from Tokeet to Webready, or you can have changes synced in both directions.
Here's how to get this set up.
Setting up Auto Sync
Click on the Rentals icon in the left navigation panel.

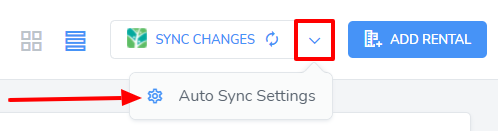
Click on the down arrow beside the Sync Changes button and click Auto Sync Settings.
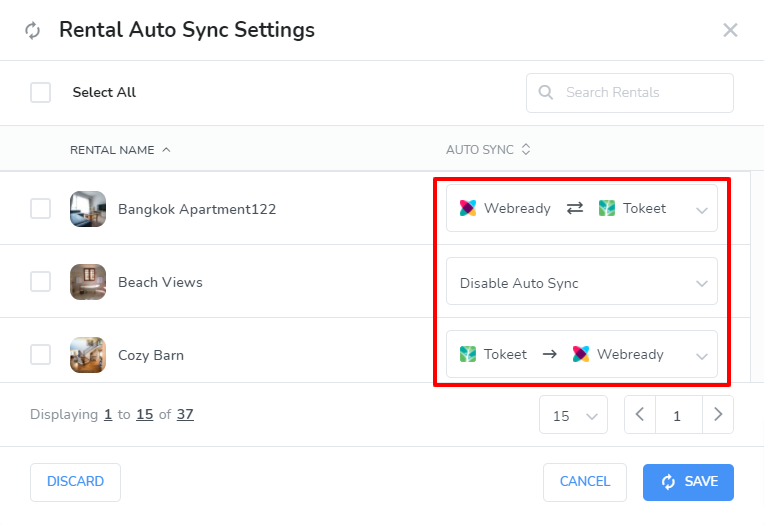
Here, you'll be able to see and set the auto sync option for each rental.
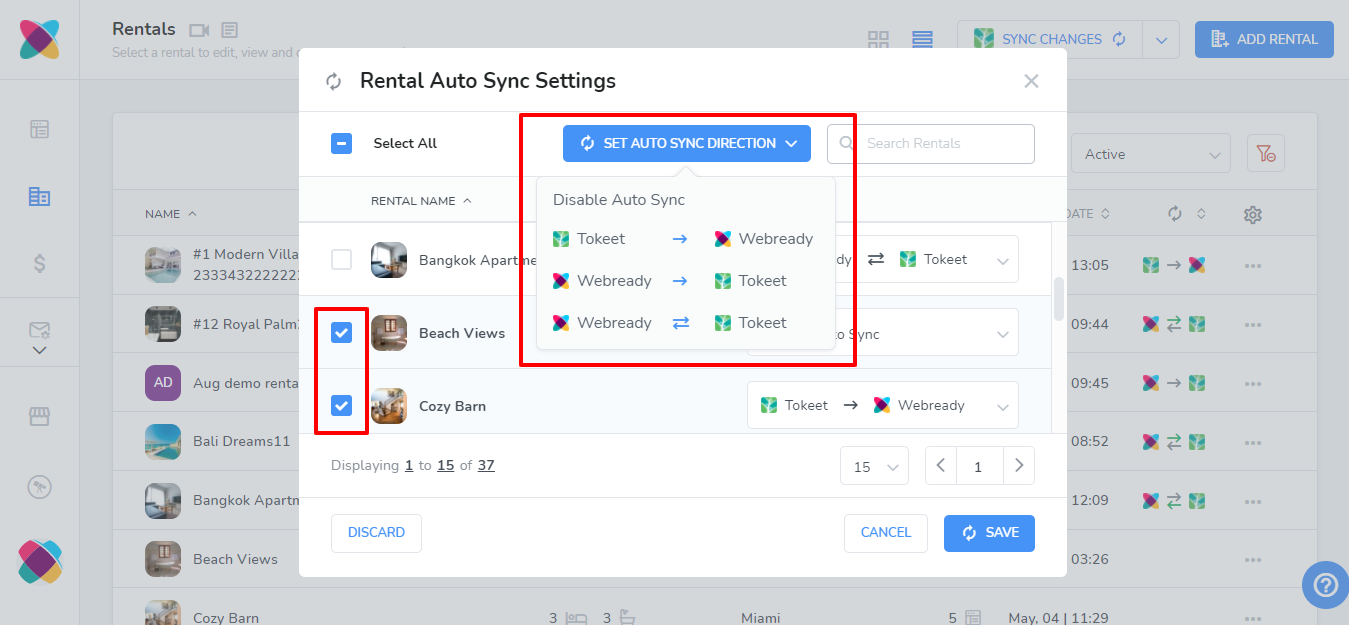
Selecting multiple rentals using the checkboxes will pop up a Set Auto Sync Direction button. This will allow you to change the setting for the selected rentals at the same time.
If you need to clear the selections before saving, use the Discard button.
Once you have selected the sync options for your rentals, click Save.
Viewing your Rental Auto Sync Status and Changes
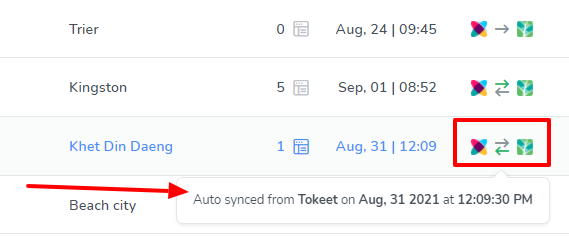
After saving your settings, you will see the auto sync option shown for each rental in your rental list, represented by Tokeet/Webready logos and an arrow(s) indicating which direction the sync is set for.
Rentals with auto sync disabled will have no icons or arrows in this column.
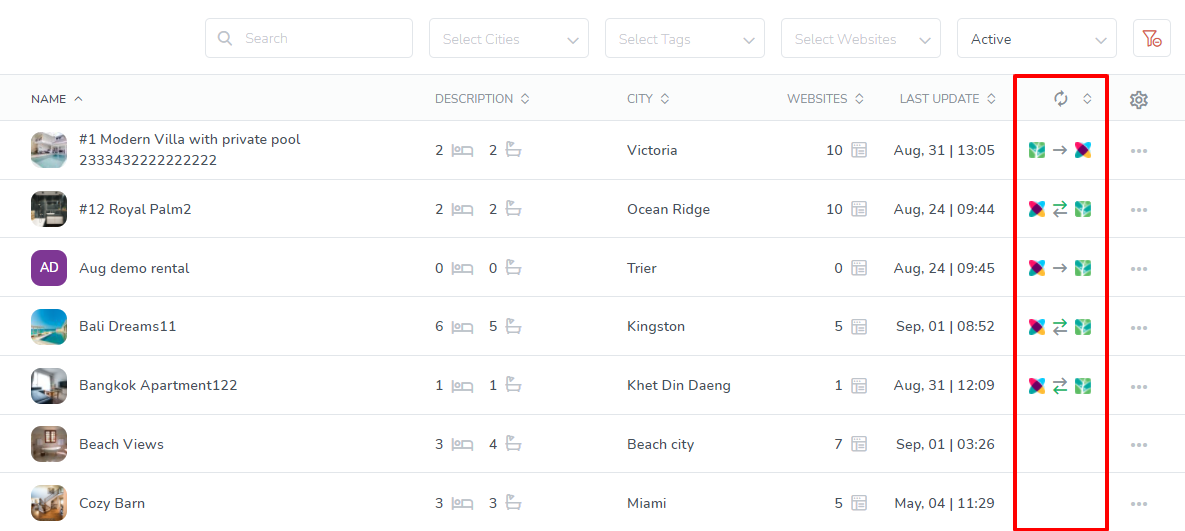
For rentals set to auto sync in both directions, there will be 2 arrows. When a sync is performed, the arrow for that direction will be coloured.
E.g if an update was made from Webready to Tokeet, the arrow pointing from the Webready logo to the Tokeet logo will be coloured, while the other arrow will be grey.
Hovering over the icons in the auto sync column will also show information on the last sync.
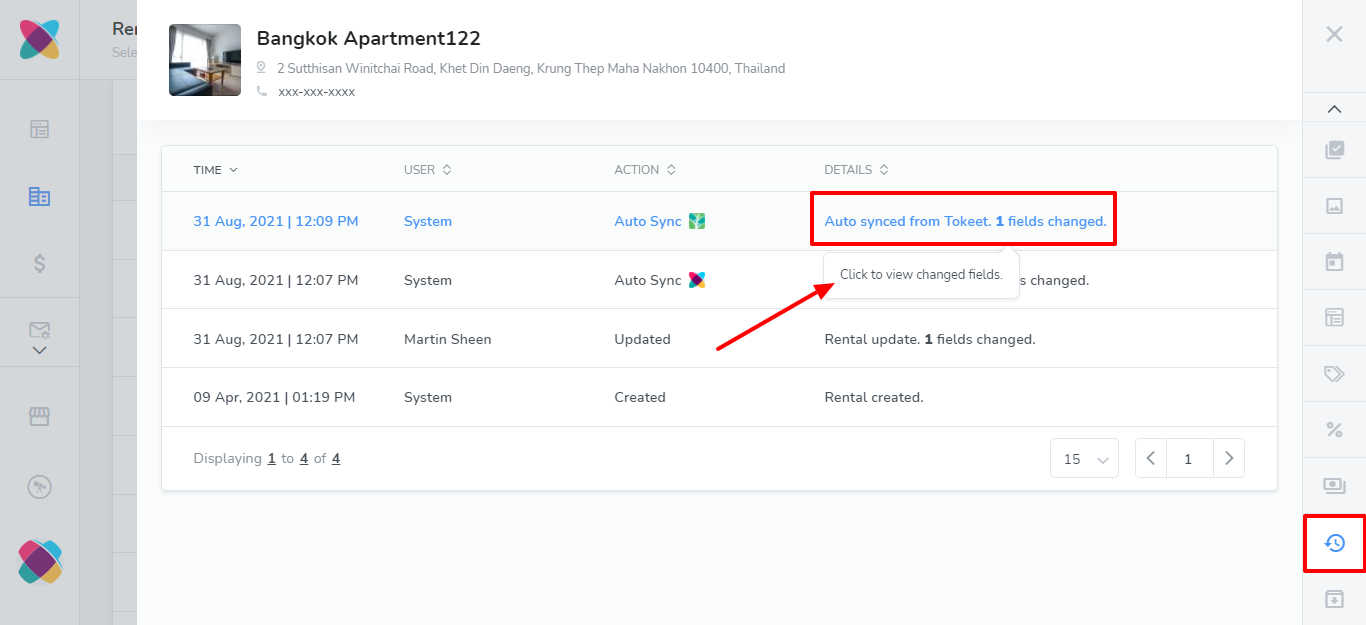
Clicking on the icons in the auto sync column will open up the activity logs screen for the rental. Here, you will see all the changes made to the rental. If you hover on the Details column, you will be able to click to see the changes made.
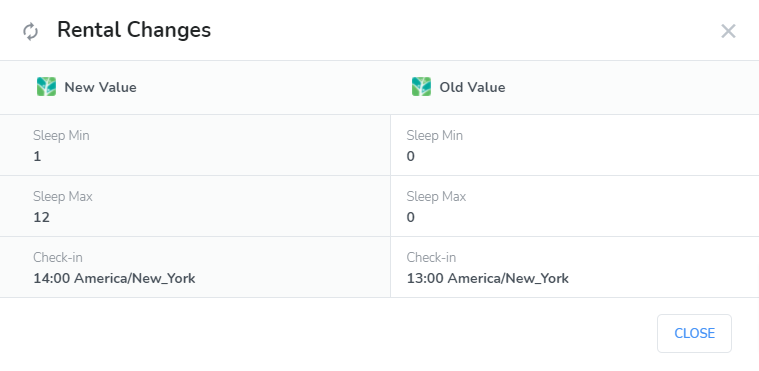
Here's an example of the rental changes pop up box that will show the changes.
Managing websites using the updated rentals
It is important to republish your website(s) that feature any rentals that were updated to see the changes reflected on the site.
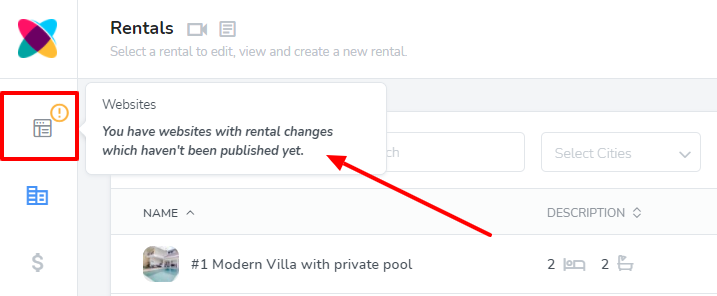
After changes have been auto synced, there will be visual indicators in the following places letting you know that you need to republish your website(s).
Rental tab:
My Websites page:
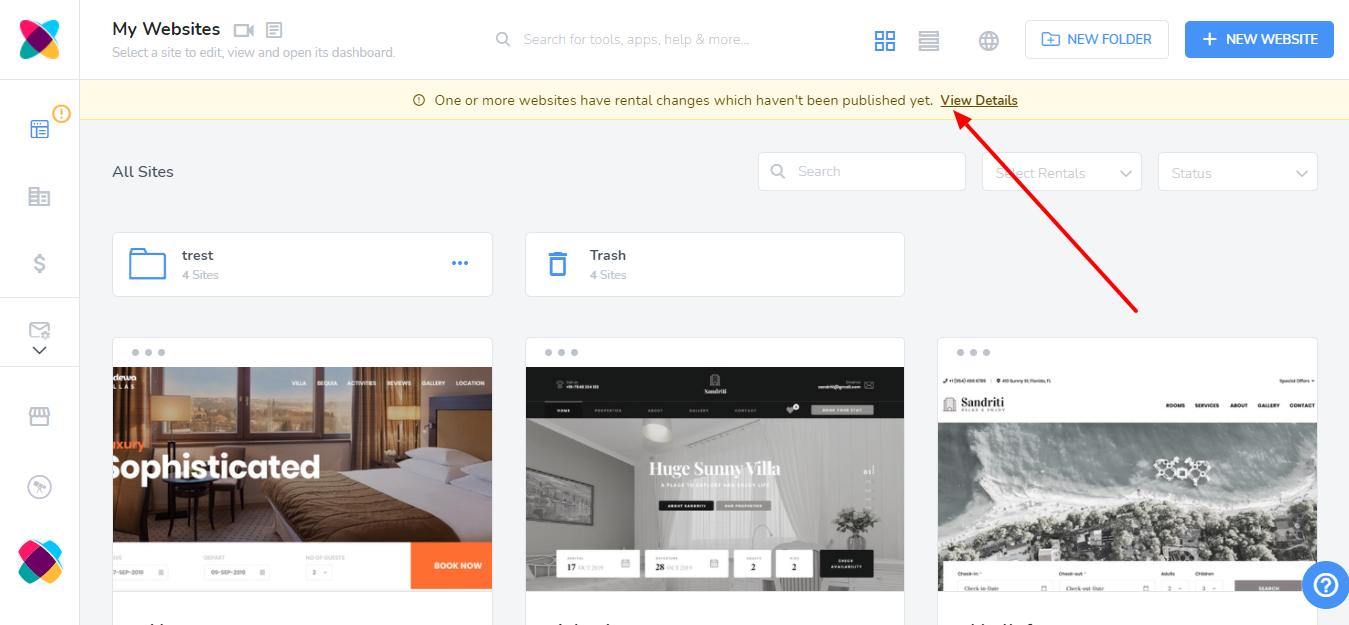
The Website Details page for a selected website that includes the updated rental(s):
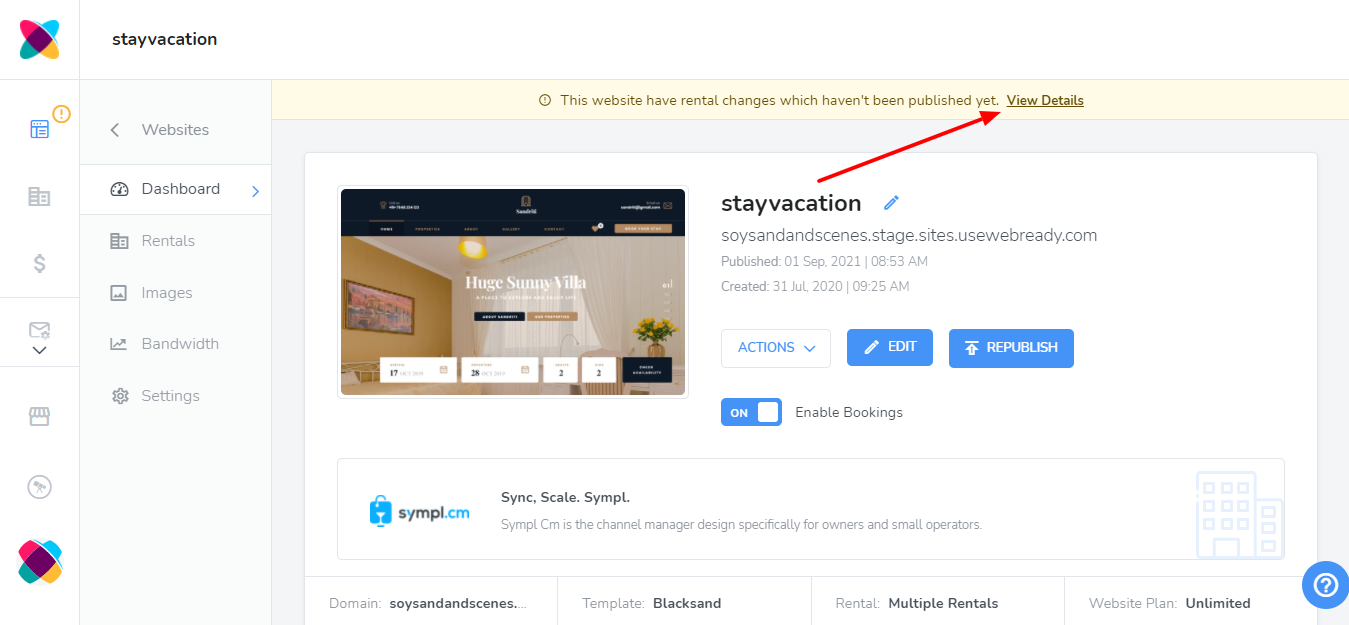
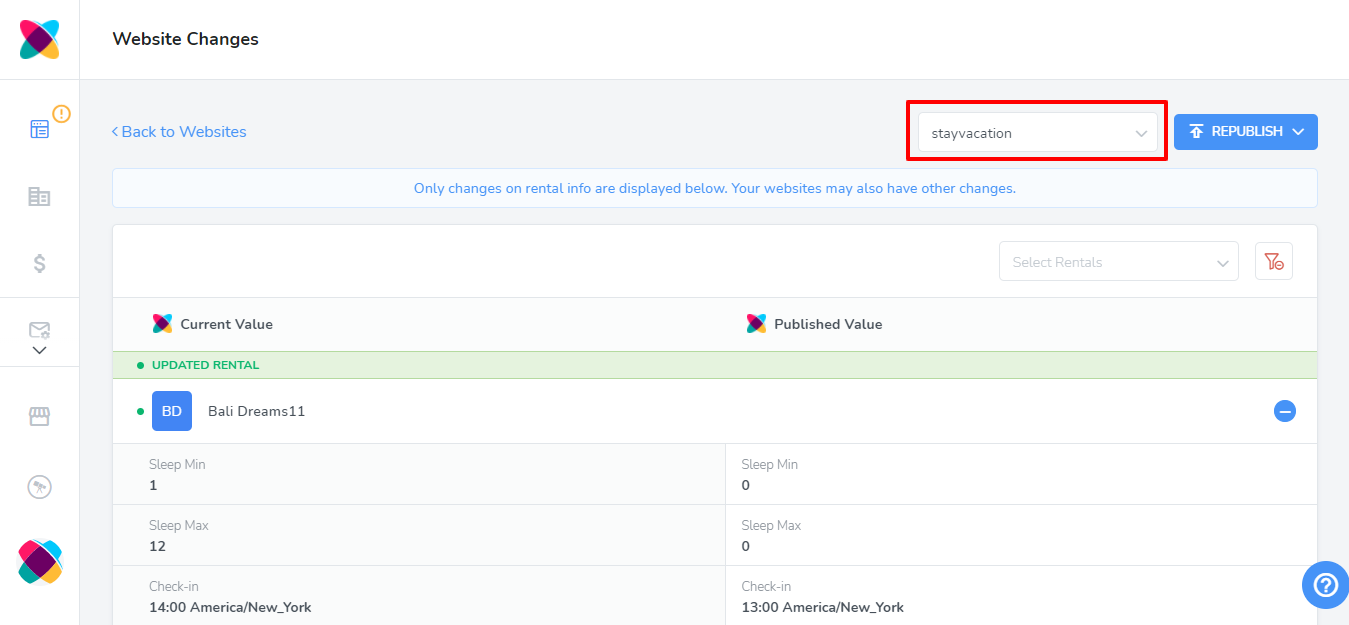
Clicking on the View Details link will allow you to select a website and see what rental changes were made.
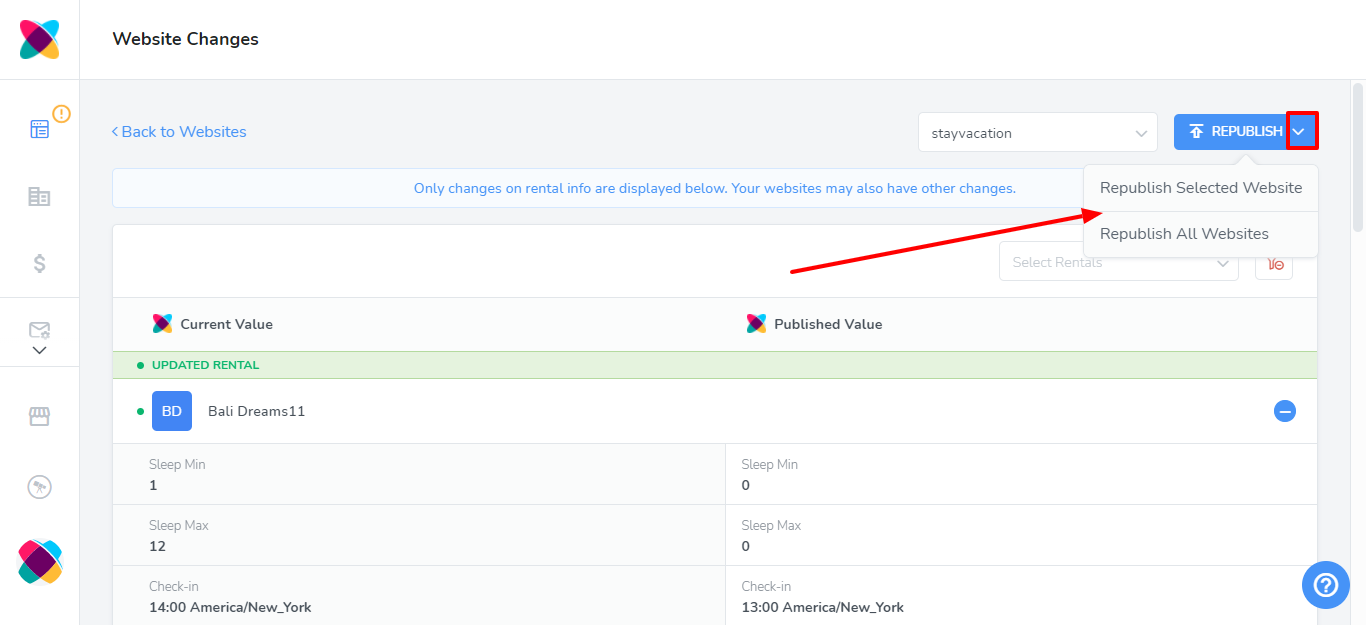
You will be able to Republish from this page as well. Clicking on the down arrow next to the Republish button will allow you to choose between the options Republish Selected Website and Republish All Websites.
Once the website has been republished, you will see the rental changes on your website.