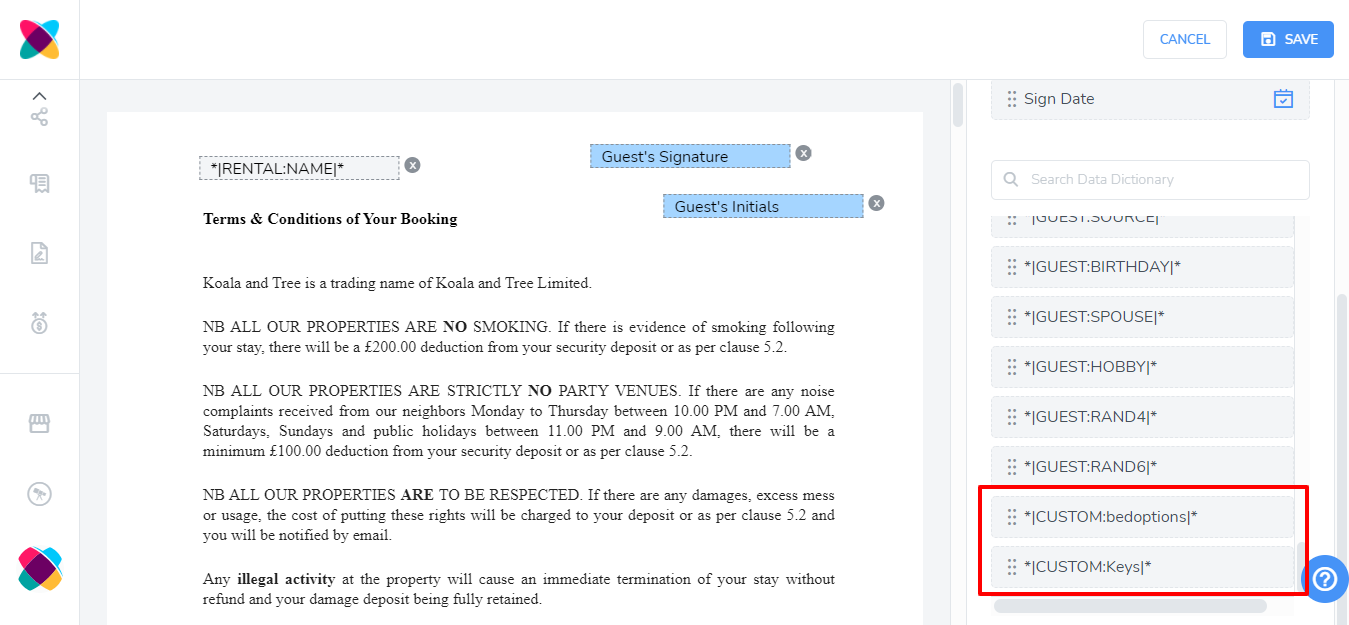
Would you like to tailor specific parts of your template messaging for guests in specific rentals? With eDocuments custom codes, you can create custom information fields that can be assigned to specific rentals, and insert them into your template using the data dictionary.
Creating Your Custom Code
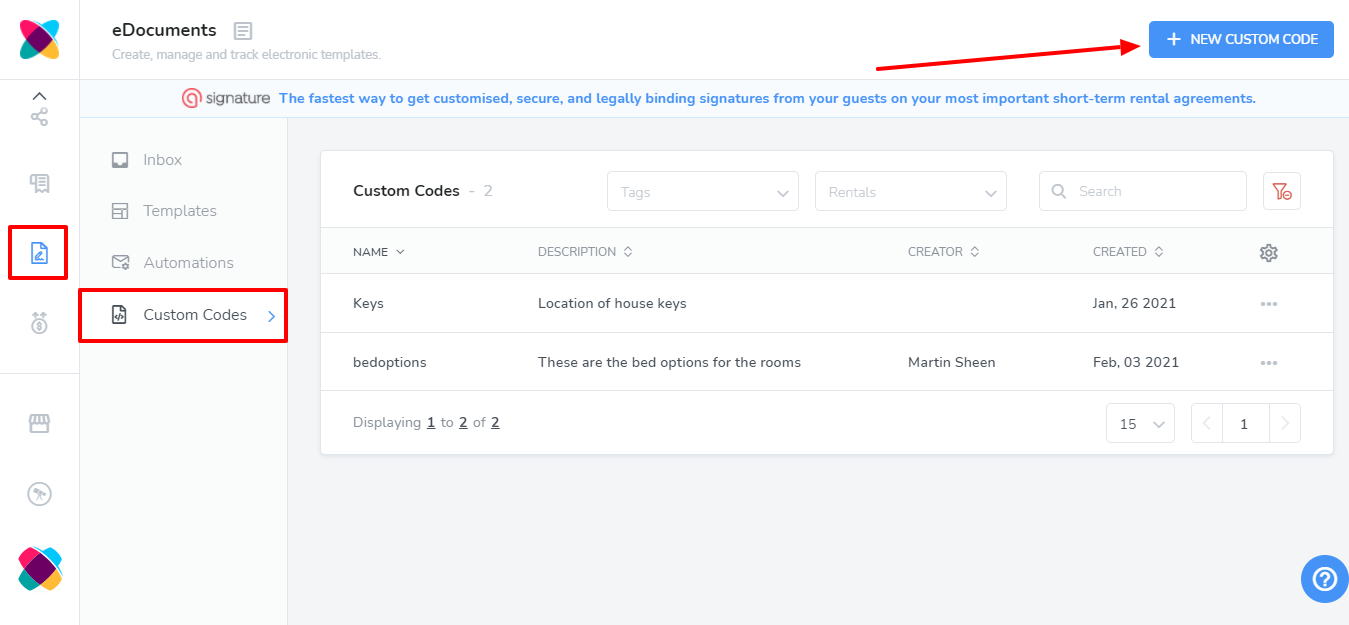
Navigate to the eDocuments section then click on the Custom Codes tab
Click the New Custom Code button to create a new custom code.
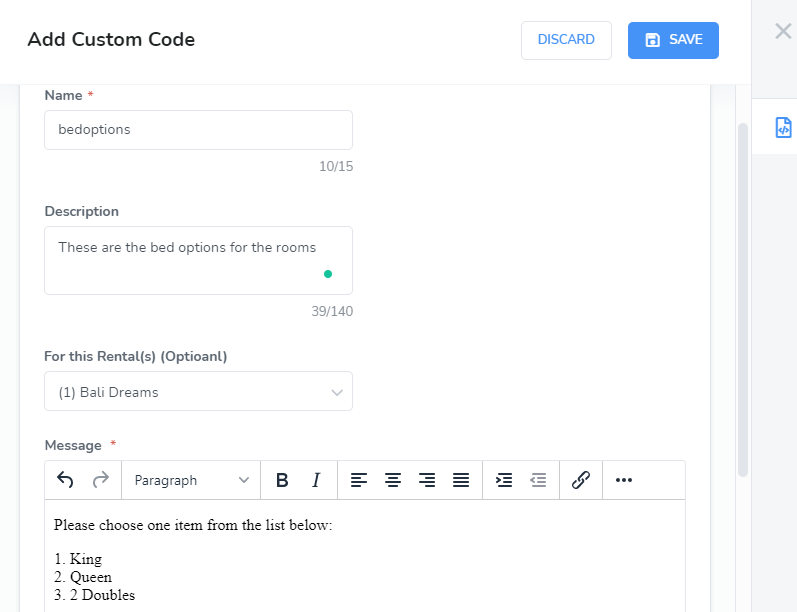
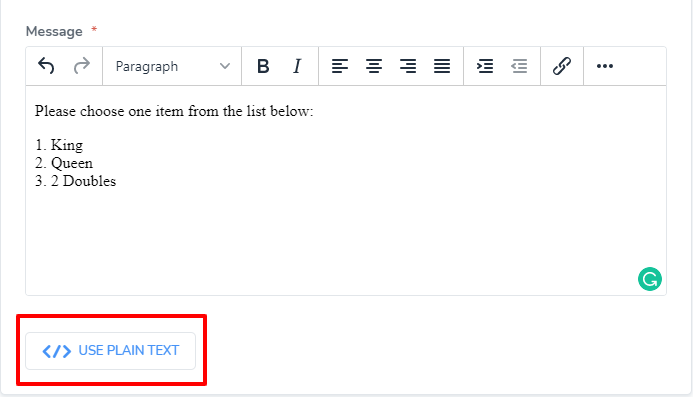
Give the custom code a Name, and add a Description that will allow you to quickly understand the purpose of the code. Enter your custom message into the code editor.You may toggle between plain text and rich text editing modes by clicking the Use Plain Text button.
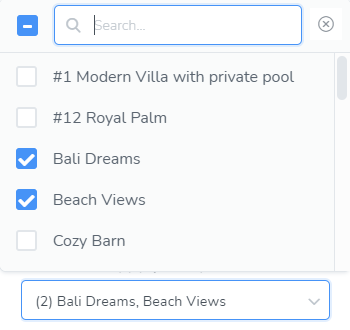
Select a rental from the drop-down selector. Each custom code can be assigned to one or more rental.
Multiple codes can be made with the same name, but different rental assignments. The custom code assigned to a rental will be used for any messaging sent to that rental that contains the custom code.
When creating or editing a custom code, and another code exists with the same name, you will not see any rentals that are already being used for a custom code with the same name.
Click the Save button to save or update the custom code. Once your custom code is created, it can be used in your templates. These will appear at the bottom of the eDocuments Data Dictionary list.
Managing Your Custom Codes
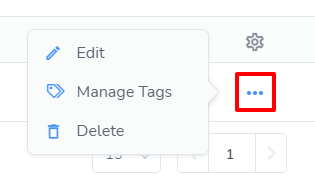
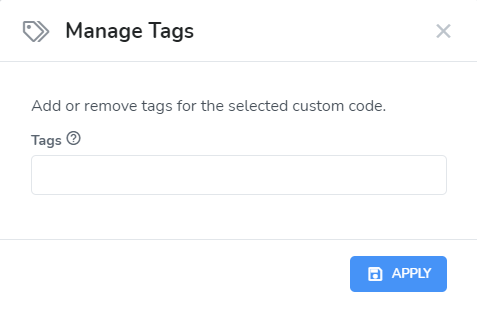
Click the Options button and select Manage Tags to open the Manage Tags modal.
Tags can be assigned to the custom code in order to make sorting and organization of your different codes easier.
 Updated