Triggers, or Automations, are a key benefit of Webready. A trigger is an instruction to Webready to perform a particular action when an event occurs. For example, triggers can be used to notify you and your guests via email or SMS when a new booking is received. Webready currently does not automatically send email when events occur, so we recommend setting up triggers in order to receive account notifications.
Before creating a trigger, you need to build a Message Template. Triggers require message templates to work.
For full customization of triggers, please consider our Add-On product Automata.
Triggers are extremely powerful and are easy to create in Webready.
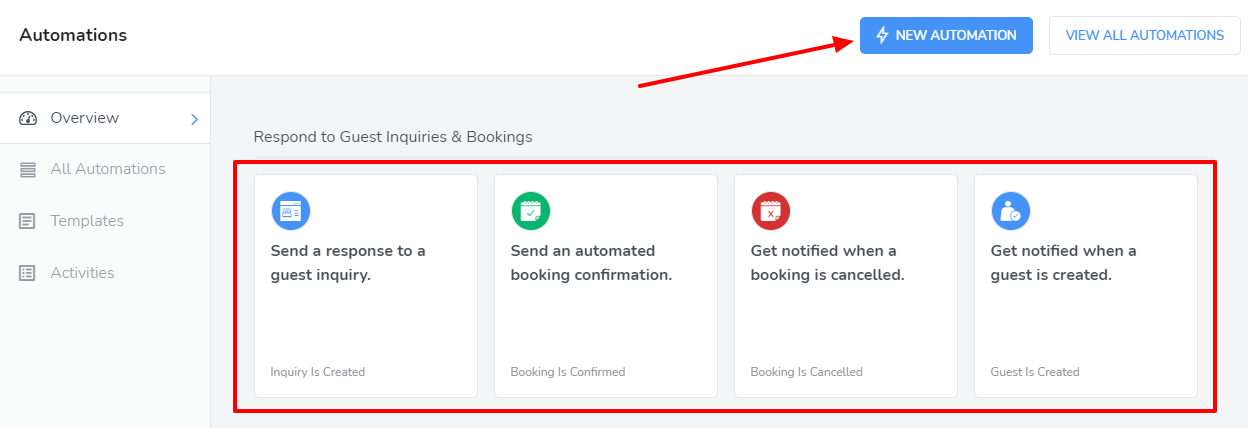
Scroll to the Automations icon
Click "New Automation" to build a new trigger. You can also select one of the pre-defined triggers from the Overview page (more on this below).
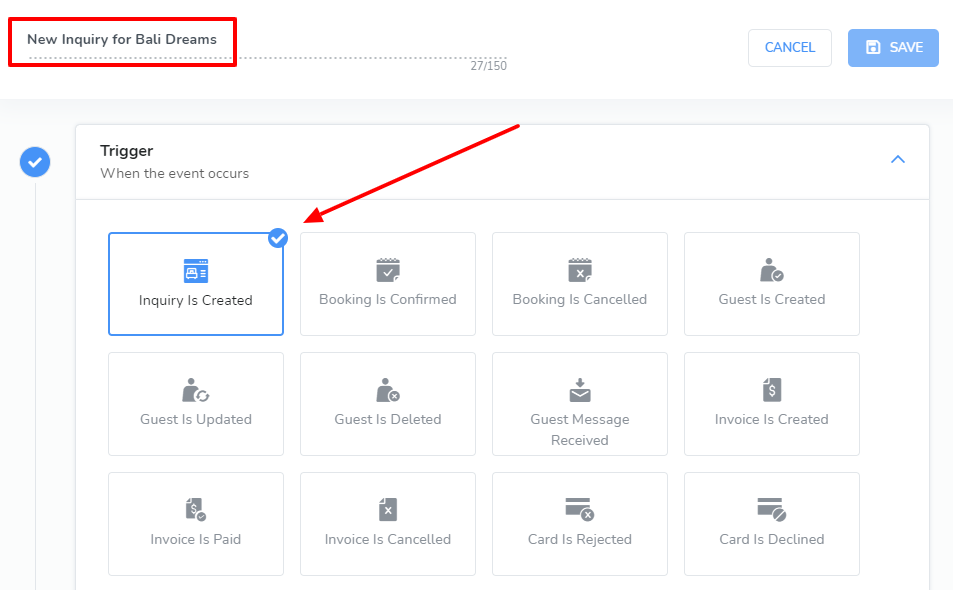
Give the Trigger a unique and descriptive name then select the Event Type.The options for this are described below:
Booking Cancelled: Booking cancelled via dashboard or connected API channel.
Booking Confirmed: Booking confirmed via dashboard or connected API channel.
Card Declined: Credit Card has been declined after Stripe attempts processing.
Card Rejected: Credit Card info submitted to Stripe has been rejected.
Contract Rejected: A Signature Contract has been rejected.
Contract Sent: A Signature Contract has been sent.
Contract Signed: A Signature Contract has been signed.
Contract Viewed: A Signature Contract has been viewed.
Guest Created: Guest is created either via the dashboard, from a Webready website or widget, or from a channel connection.
Guest Deleted: Guest is deleted from the dashboard.
Guest Message: Message is received from a guest
Guest Updated: Guest is updated via the dashboard or a channel connection.
Inquiry Created: Inquiry is created via the dashboard, a Webready website or widget, or an API channel connection.
Invoice Cancelled: Any Webready invoice is marked as cancelled.
Invoice Created: Invoice created on any Webready inquiry.
Invoice Paid: Invoice status changes to paid on any Webready invoice.
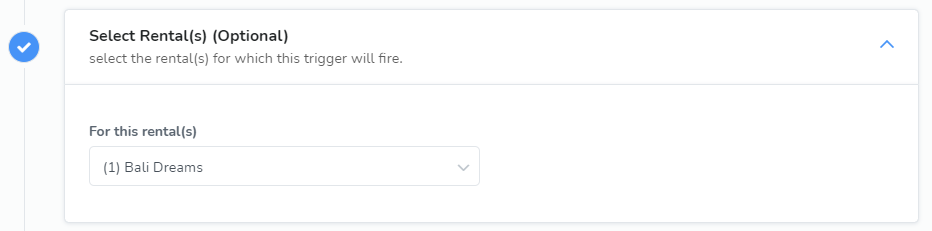
Choose a rental (optional). If no rental is selected, the trigger will fire for all rentals. The rental option will only be available for some trigger events.
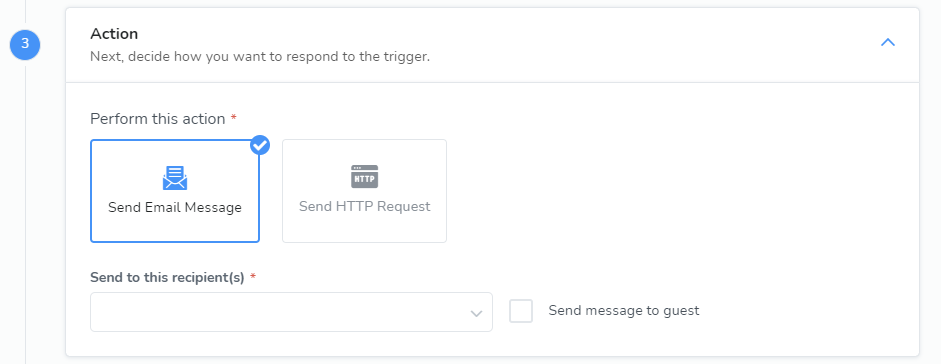
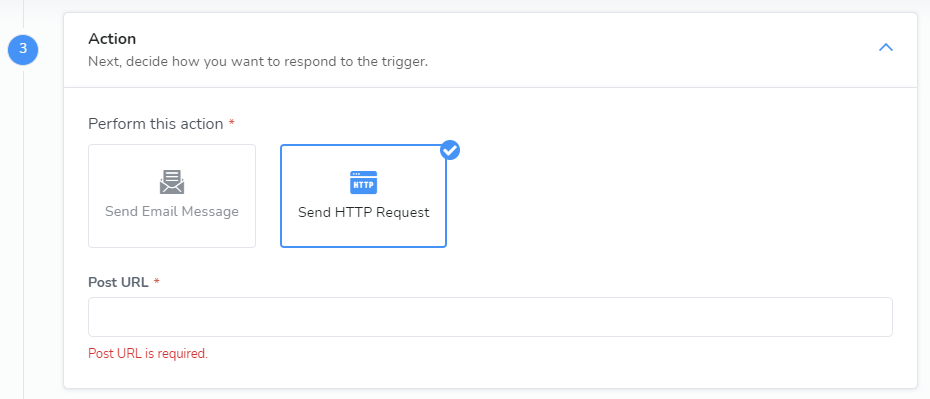
Choose the Action to perform. You may either Send Email Message or Send HTTP Request. Send Email Message: You will need to select which internal users to send the message to - at least 1 internal Webready user must be selected. To also send the message to the guest, select the "Send message to guest" checkbox. Triggers meant for only communication to staff should leave this option unchecked.Send HTTP Request: A post URL will need to be entered for this option.
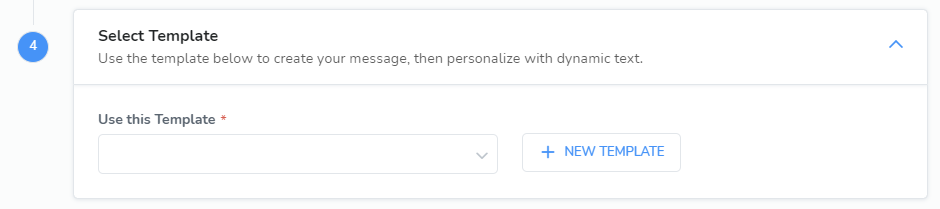
Select a new template to use for this trigger. Once selected, you will have the opportunity to edit the template here. You can also create a template right here by clicking on the "New Template" button. For information on creating templates please see the following article: Message Templates.
Save your trigger.
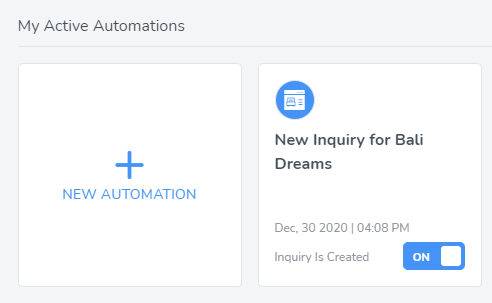
Your trigger will now show up under My Active Automations
To disable your trigger at any time, simply change the toggle to the OFF position.
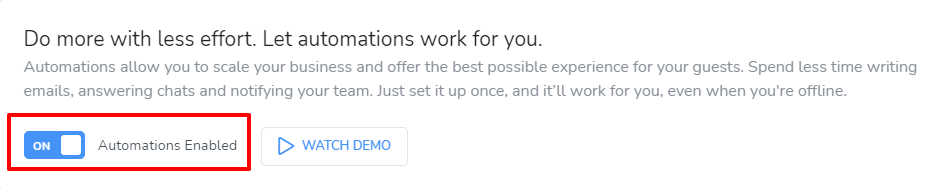
If at some point, you need to completely pause or turn off all of your automations, then you can disable it in the Automations Overview section:
Note: Once a Trigger is created, it is important to be mindful of actions taken via the Webready dashboard as they may fire a trigger event each time. For example, repeatedly canceling and confirming a booking may send multiple email messages to a guest. Also, deleting bookings will result in any triggers set for booking cancellation to be fired.


 For more on HTTP Requests, please click here.